
Benefits of Clay Bar Detailing
/Clay bar detailing is one of the most satisfying steps in car detailing. It restores that slick, glass-like surface, preps your paint for polishing or coating, and ultimately helps your vehicle look and feel its best.
If you’ve ever washed your car and thought, “It’s clean, but it doesn’t feel smooth,” then you’ve experienced the silent work of contaminants. Over time, your vehicle’s paint collects industrial fallout, tree sap, brake dust, and other stubborn particles that don’t budge with regular washing. That’s where a clay treatment comes in.
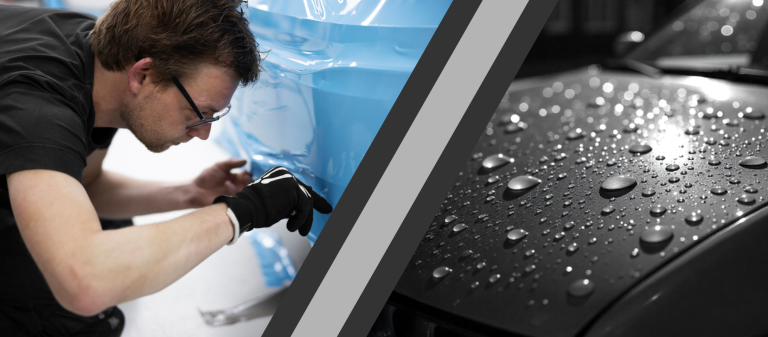
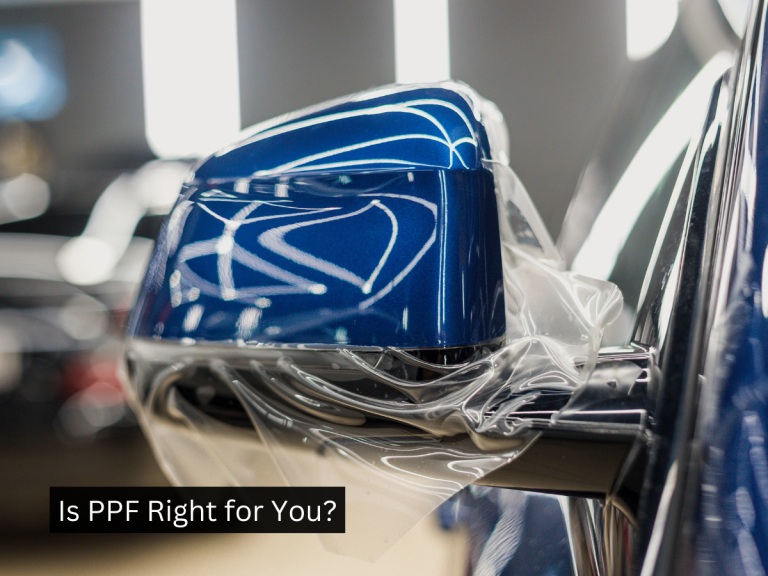
In the context of ceramic coating or PPF application, you want your paint to be in the best condition you can make it before applying a coating or film. The clay bar detail is the best way to achieve this so plan to make this a required step.
It's worth it!
Why Clay Bar Detailing Works
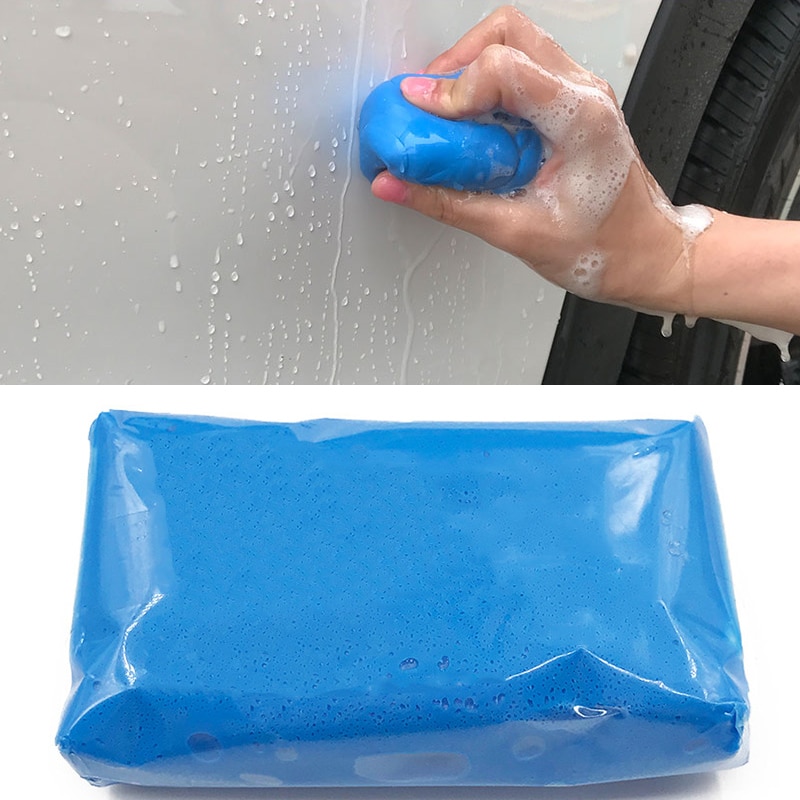
- Removes Embedded Contaminants – Unlike sponges or mitts, which glide over the surface, a clay bar's sticky, pliable texture grips and pulls out microscopic particles like tree sap, industrial fallout, brake dust, and road tar from the paint's pores. When used with a lubricant to prevent scratching, the clay bar gently shears away these contaminants, leaving the surface smooth and clean.
- Improves Surface Smoothness – A clayed surface feels noticeably smoother to the touch, which enhances gloss and reflection.
- Prepares Paint for Protection – Wax, sealant, or ceramic coatings bond better to a clean, contaminant-free surface, increasing their longevity.
- Enhances Appearance – By removing bonded debris, your paint’s color looks richer and more vibrant.
- Prevents Micro-Scratching – Contaminants left on the surface can drag across the paint during waxing or polishing, creating fine scratches.
When Should You Clay Bar Detail Your Car?
Most vehicles benefit from a clay bar detail every 4–6 months, depending on driving environment and exposure to elements.
If you run your hand over freshly washed paint and feel small bumps or grit, it’s time.
Step-by-Step: How to Clay Your Car
What You’ll Need:
- Quality clay bar or clay mitt. In my experience, the mitt is faster but the results are better with a traditional clay bar.
- Microfiber towels for wiping, drying and buffing
Recommended Product:
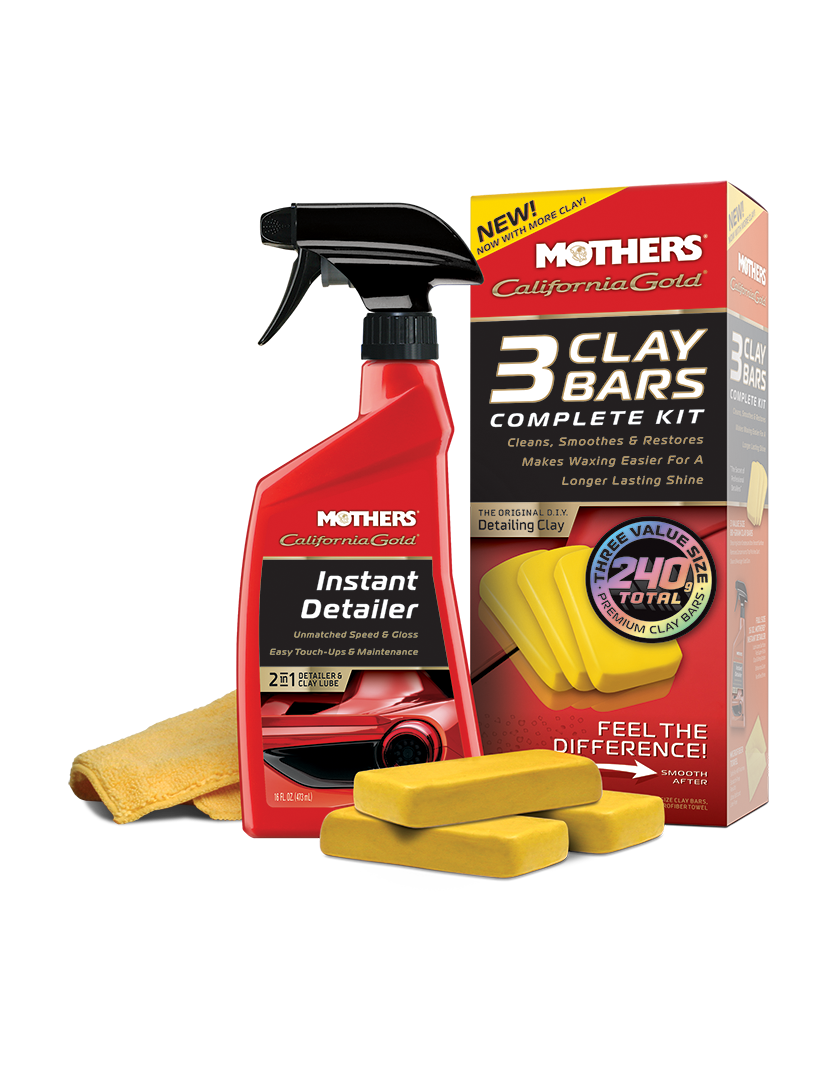
Mother's Clay Bar and Clay Lube
- 16k+ Reviews / 4.5 Stars
- Removes embedded decontaminates
- Adds depth and clarity to your vehicle's paint
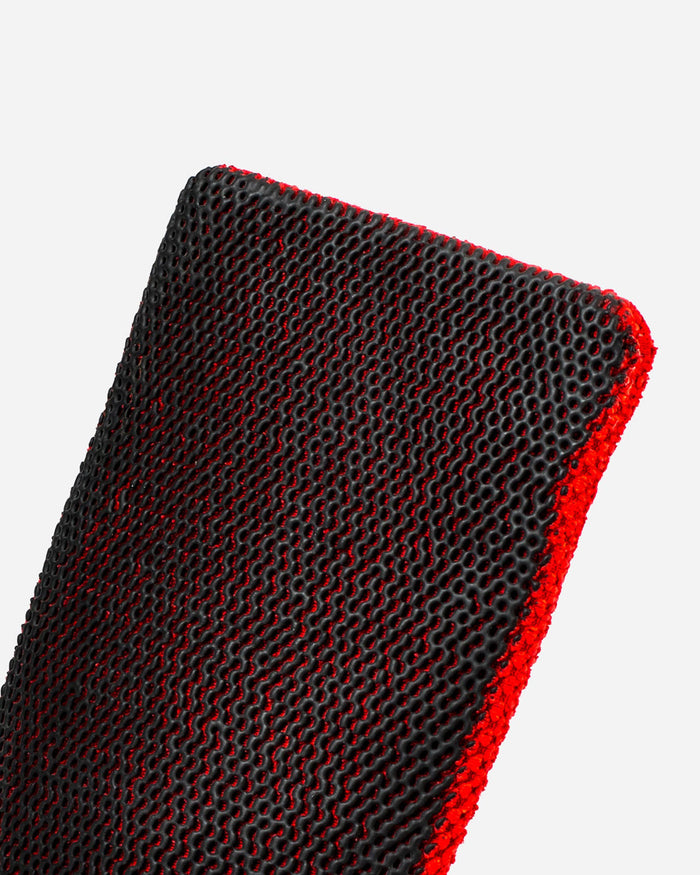
Adams - Clay Mitt
- 2k+ Reviews / 4.5 Stars
- Faster job completion but maybe not as effective as a clay bar
- Lasts 5-6 times longer than a clay bar
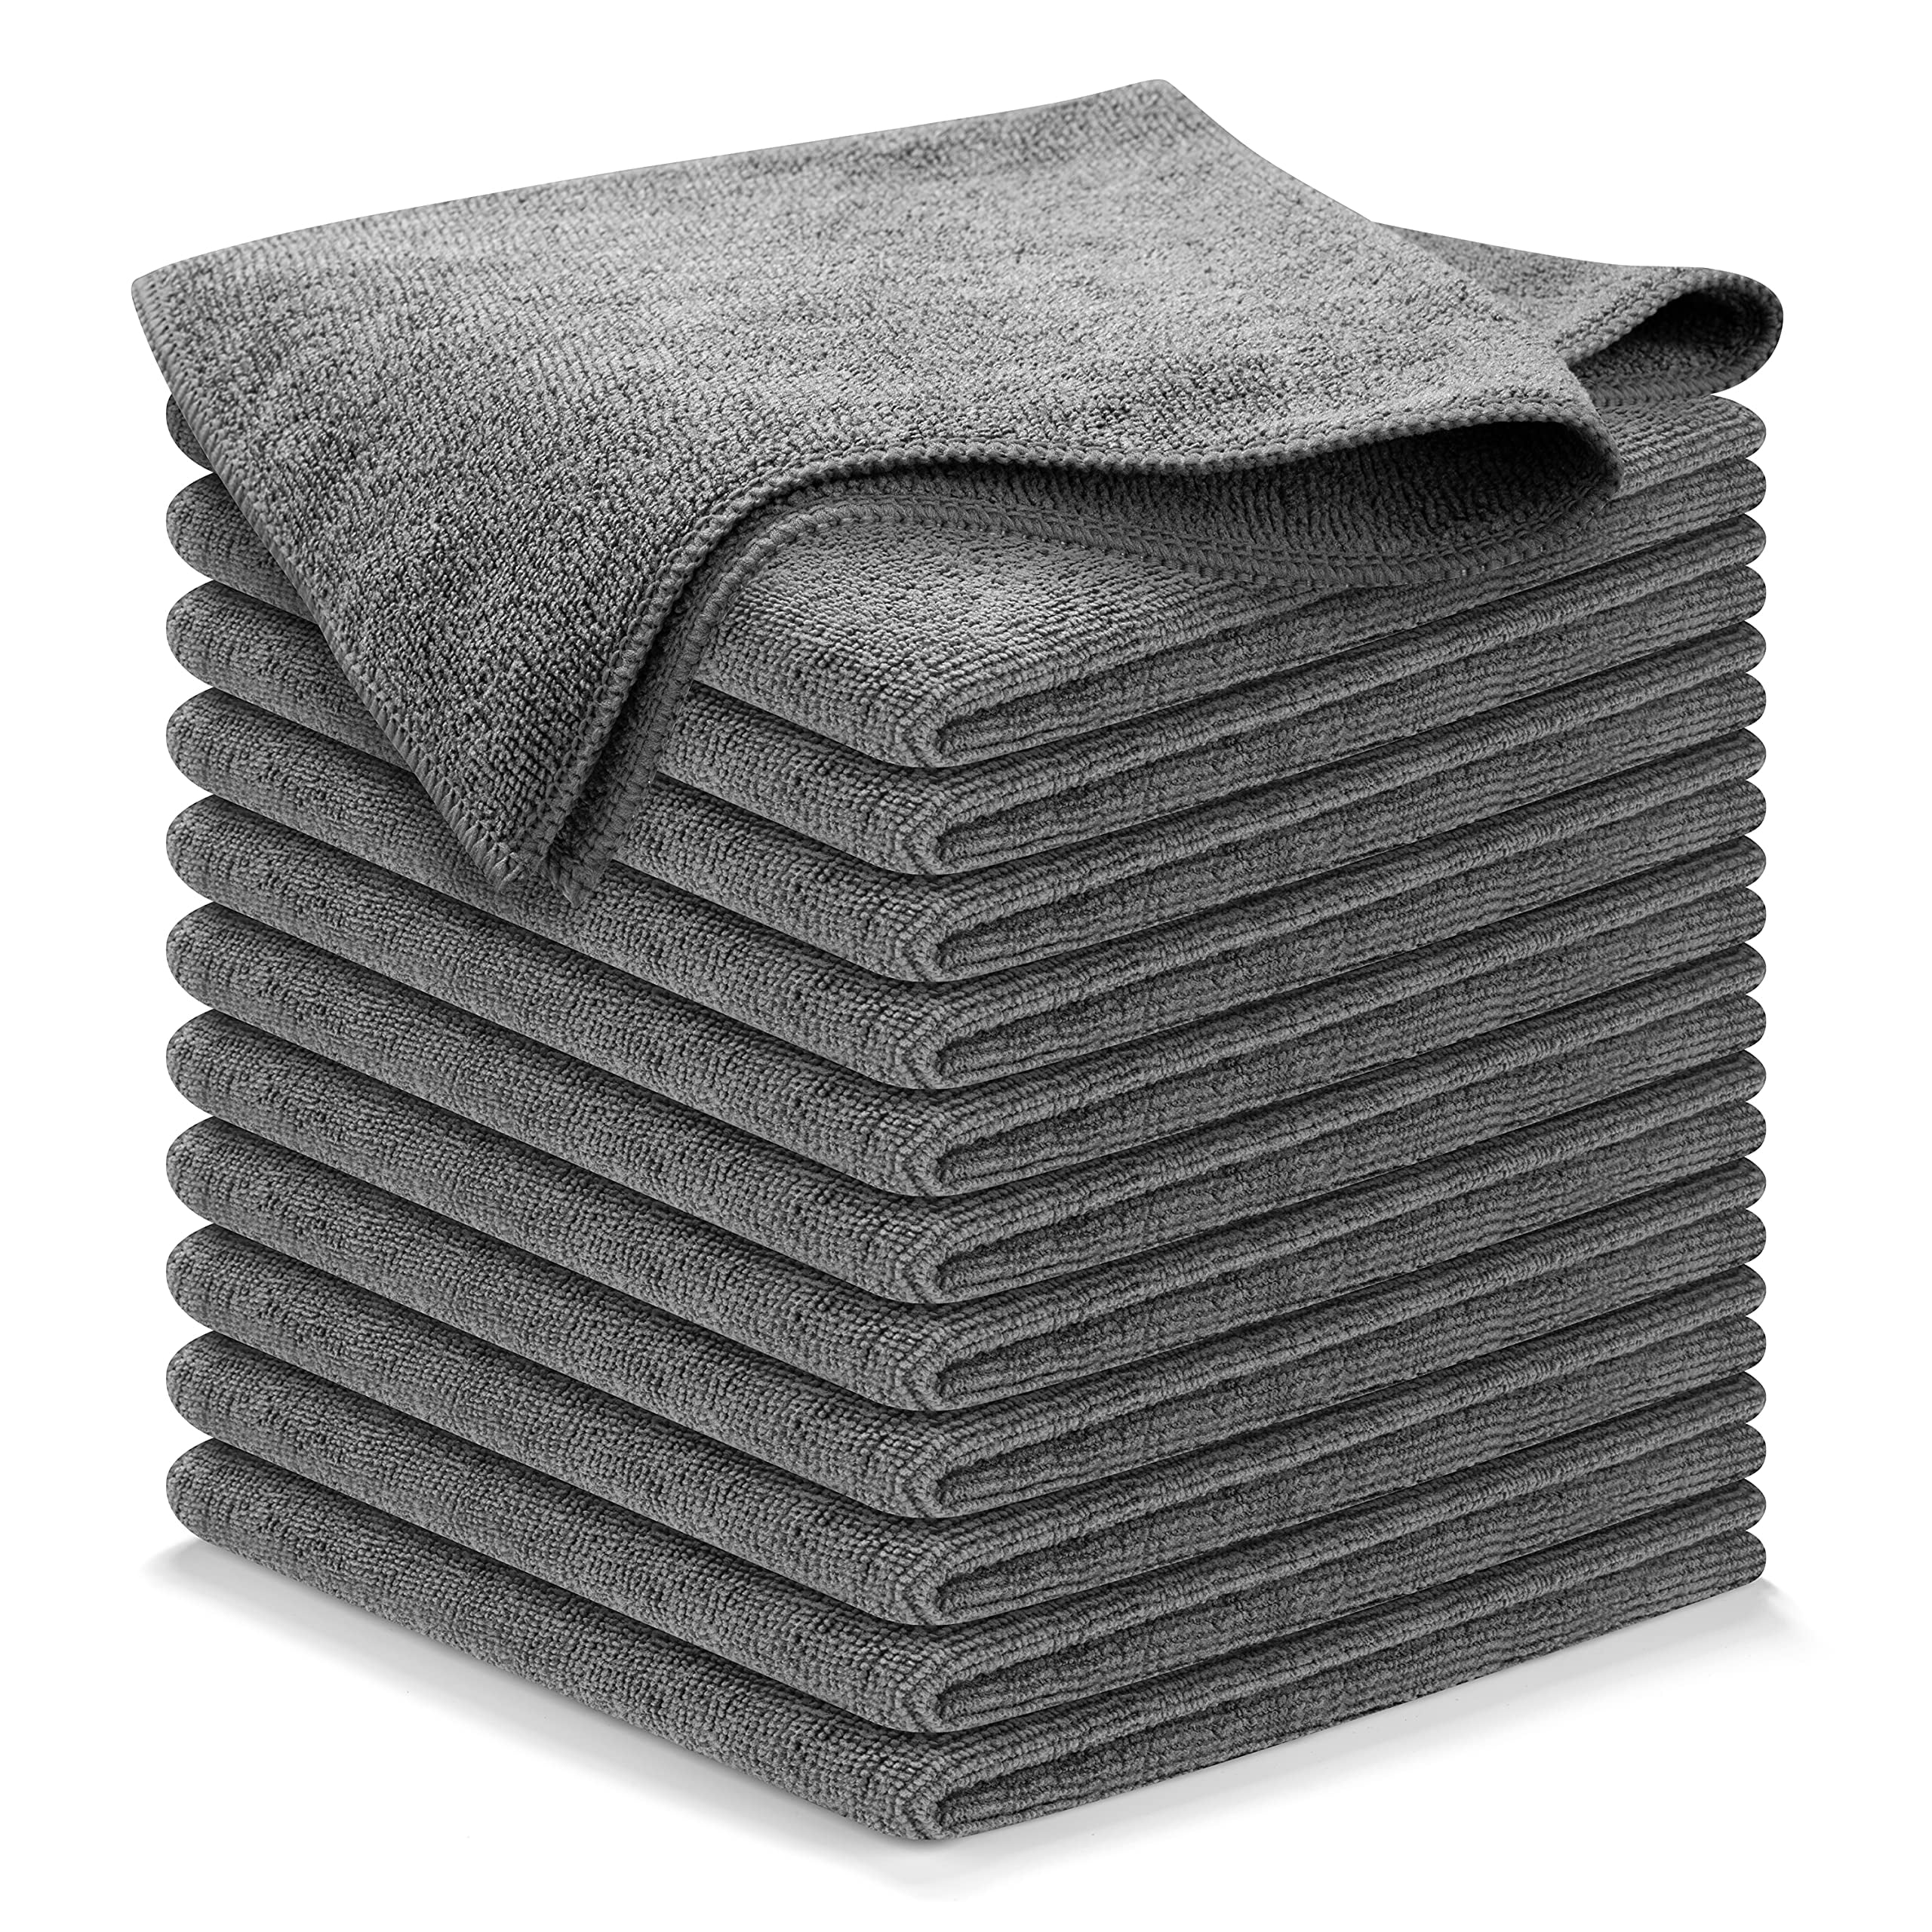
Microfiber Towels
- 15k Reviews / 4.5 Stars
- Ultra absorbent 300GSM
- Won't lint, scratch, pill, shed, or bleed
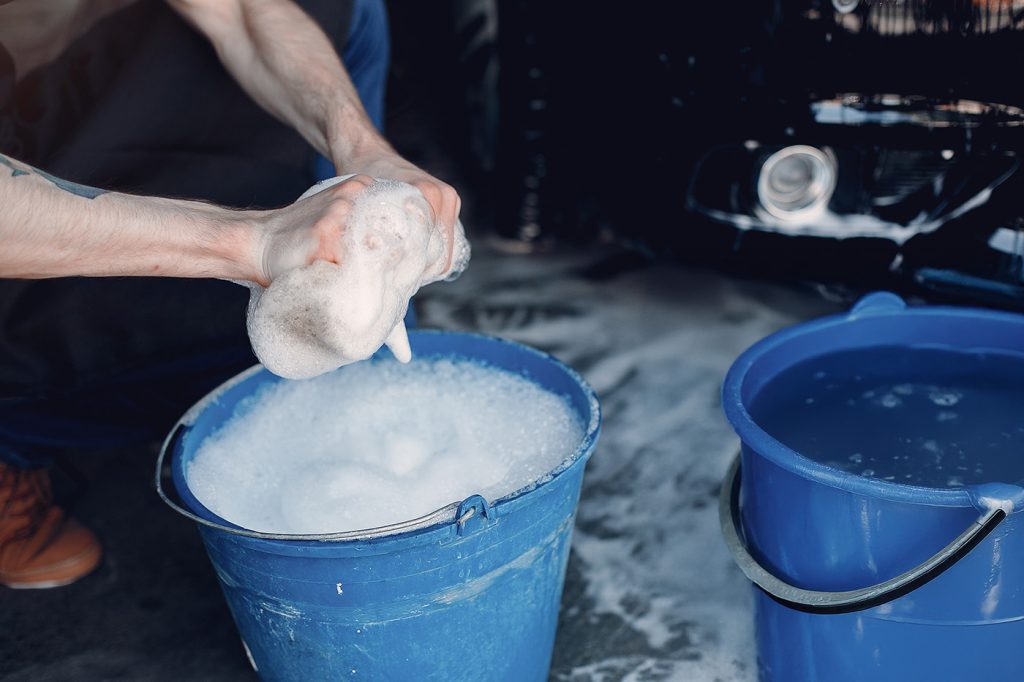
Step 1 – Wash Your Car Thoroughly
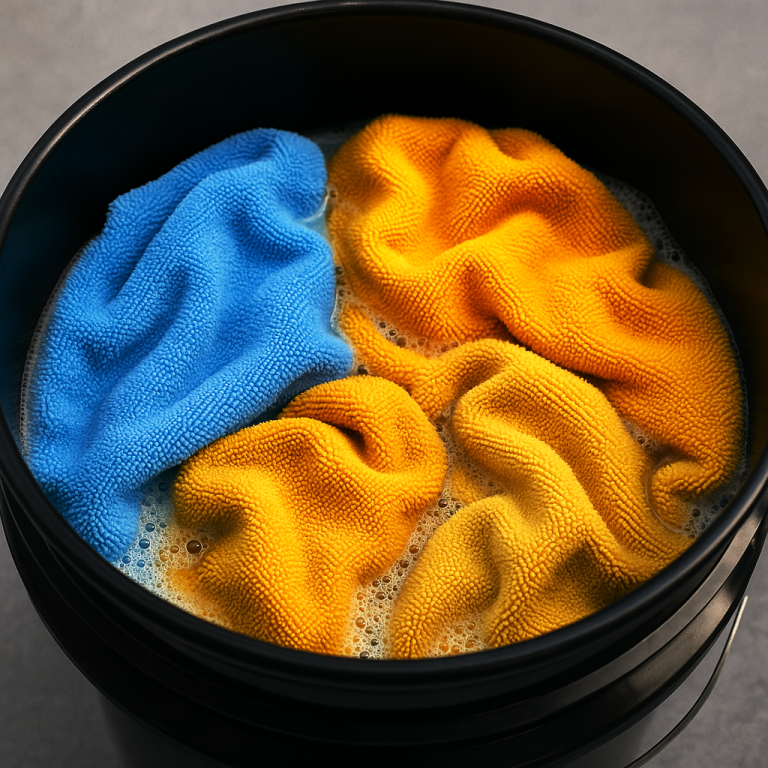
A clay bar is not a replacement for washing. Remove loose dirt first to prevent scratching by washing the car with the two-bucket method.
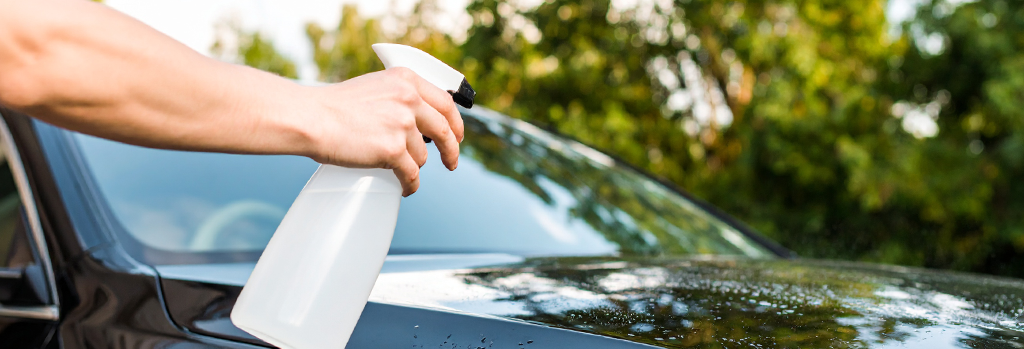
Step 2 – Lubricate the Surface
Work in small sections. Spray the panel generously with clay lubricant so the clay can glide easily.
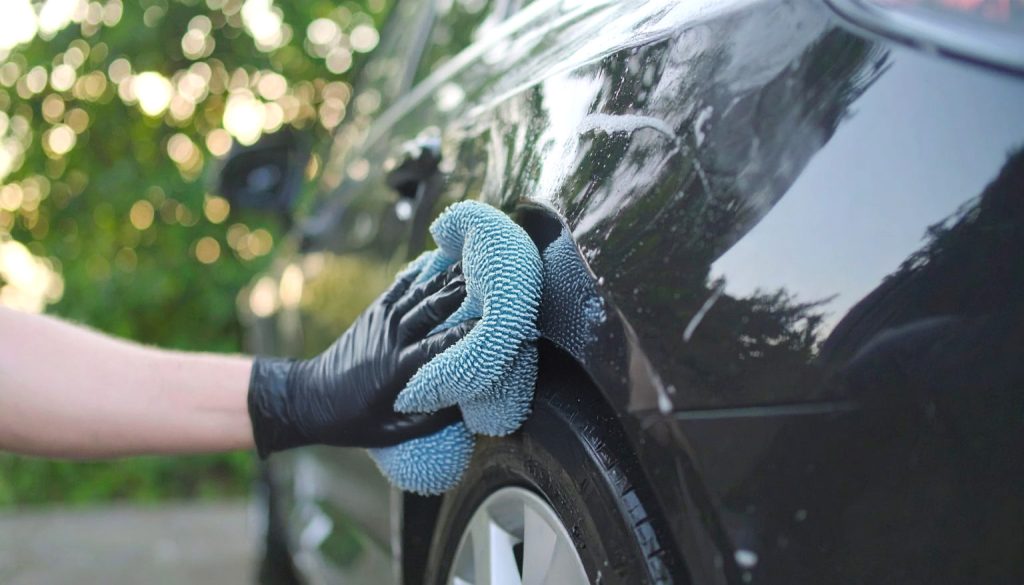
Step 3 – Glide the Clay
Hold the clay flat against the surface and gently move it in back-and-forth motions. You’ll feel resistance at first, but as contaminants are removed, the surface will feel smoother.

Step 4 – Wipe and Inspect
After each section, wipe with a microfiber towel and run your fingers over the paint to check smoothness.
Step 5 – Knead the Clay
Fold and knead the clay to expose a clean surface before moving on to the next section.

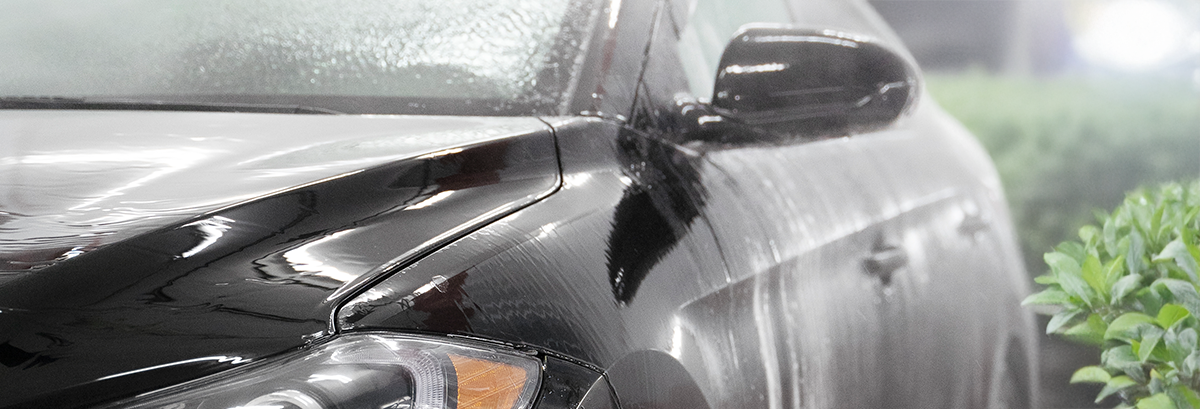
Step 6 – Rinse the Car
Once claying is complete, rinse the car to remove the lubricants and loosened contaminants.
Step 7: Protect the Paint
From here, you have options on how best to protect your paint.
- Apply a spray ceramic sealant
- Short-lived barrier layer to protect paint
- Install ceramic coating to
- Locks in the clean surface and protect against future contamination.
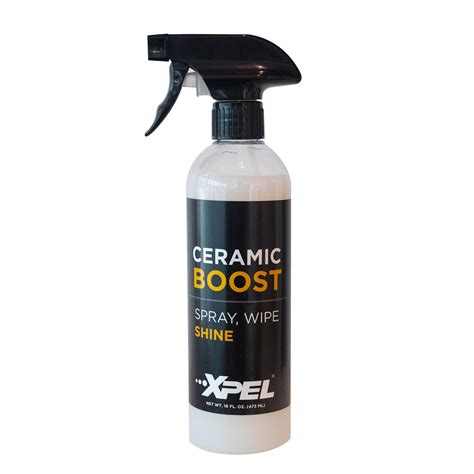
XPEL - Ceramic Boost
- 527 Reviews / 4.5 Stars
- Boosts film and paint protection to resist rain, sun, scratches, debris, and grit
- Easy to apply - spray & wipe
Final Thoughts
Claying is the bridge between a simple car wash and true paint perfection. It’s an easy yet transformative step that removes the grime you can’t see but can definitely feel.
The result is a smoother, shinier, and better-protected finish that turns heads every time you hit the road.