
How to Remove Sticker Residue Using These Products
Remove sticker residue from your car without the stress or damage. What seems like a quick peel often turns into a battle with stubborn adhesive, leaving behind sticky patches or even risking your paintwork. The good news is that with the right techniques, you can safely and effectively eliminate even the toughest decals and glue. In this guide, we’ll break down why adhesives cling so hard, share proven removal methods, and provide pro tips to keep your vehicle’s finish looking flawless.
Understanding Why Stickers Stick
Before we arm ourselves with tools and solvents, it’s crucial to understand what we’re up against. Most automotive stickers utilize a pressure-sensitive adhesive (PSA), a non-setting adhesive that forms a bond when pressure is applied. These adhesives are designed to be strong and durable, resisting elements like sun, rain, and car washes.
The challenge in removal typically stems from:
- Adhesive Degradation: Over time, especially with prolonged exposure to UV light and temperature fluctuations, the adhesive can cure and become brittle or worse, become incredibly gummy and spreadable.
- Sticker Material: Some stickers are made from vinyl that peels cleanly, while others are paper-based and tear easily, leaving more residue.
- Paint Clear Coat: Modern vehicles have a clear coat over the base color. This clear coat is tough but can be scratched or damaged if improper removal techniques are used.
Understanding these factors will help you choose the right approach for a clean and safe removal.
The Pre-Removal Prep: Setting the Stage for Success
A successful sticker removal isn't just about what you use, but how you prepare. Think of it as preparing for surgery – cleanliness and precision are key.
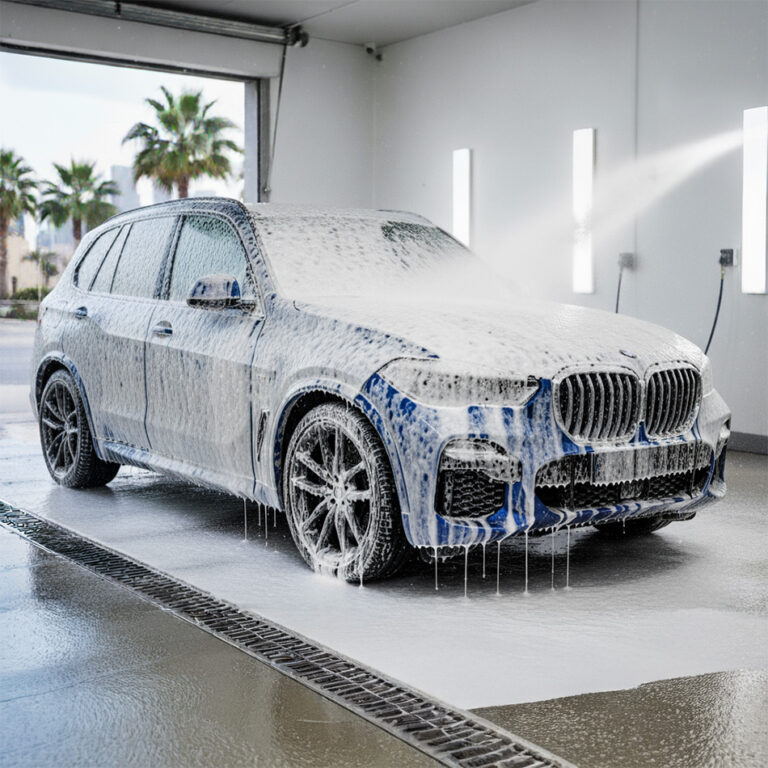
- Clean the Area Thoroughly:
- Before touching the sticker, wash the surrounding area of your vehicle. Dirt, dust, and grime can act as abrasives during the removal process, potentially scratching your paint. Use your regular car wash soap and rinse thoroughly.
- Before touching the sticker, wash the surrounding area of your vehicle. Dirt, dust, and grime can act as abrasives during the removal process, potentially scratching your paint. Use your regular car wash soap and rinse thoroughly.
- Gather Your Tools:
- Having everything within reach will make the process smoother. Essential tools include:
- Heat gun or hairdryer
- Plastic razor blades or old credit cards
- Microfiber towels (several!)
- Adhesive remover (e.g., Goo Gone, 3M Adhesive Remover, rubbing alcohol, mineral spirits, WD-40)
- Detailing spray or quick detailer
- Wax or sealant (for post-removal protection)
- Gloves (to protect your hands from chemicals)
- Having everything within reach will make the process smoother. Essential tools include:
- Work in a Shaded Area:
- Direct sunlight can heat the paint too much, causing solvents to evaporate too quickly or making the adhesive even gummier. A cool, shaded environment is ideal.
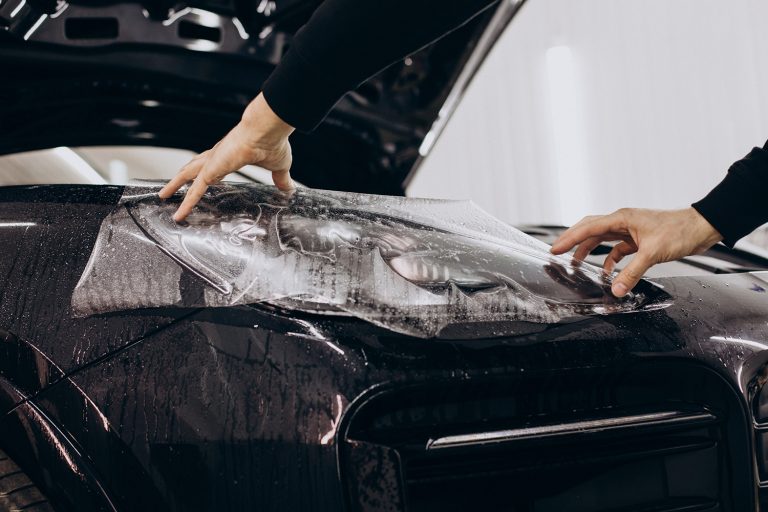
Method 1: The Heat Approach (Gentle and Effective)
Heat is your first and often best friend in sticker removal. It softens the adhesive, making it more pliable and easier to peel away without tearing.
Step-by-Step Guide: Heat-Assisted Removal
- Apply Heat Evenly: Using a heat gun on its lowest setting or a hairdryer, gently heat the sticker. Move the heat source constantly in small circles, holding it a few inches away from the surface. You're aiming to warm the adhesive, not scorch the paint. Approximately 30-60 seconds of heat application per area is usually sufficient.
- Test a Corner: After heating for a minute, gently try to lift an edge or corner of the sticker with your fingernail or a plastic razor blade. If it starts to peel easily, you're on the right track.
- Slow and Steady Wins the Race: Once an edge is lifted, continue to apply heat just ahead of where you're peeling. Slowly and steadily pull the sticker back at a shallow angle (almost folding it back on itself). This low angle helps prevent tearing and pulls more adhesive off with the sticker.
- Residue Check: If you're lucky, the sticker will come off cleanly, leaving minimal residue. If not, proceed to adhesive removal.
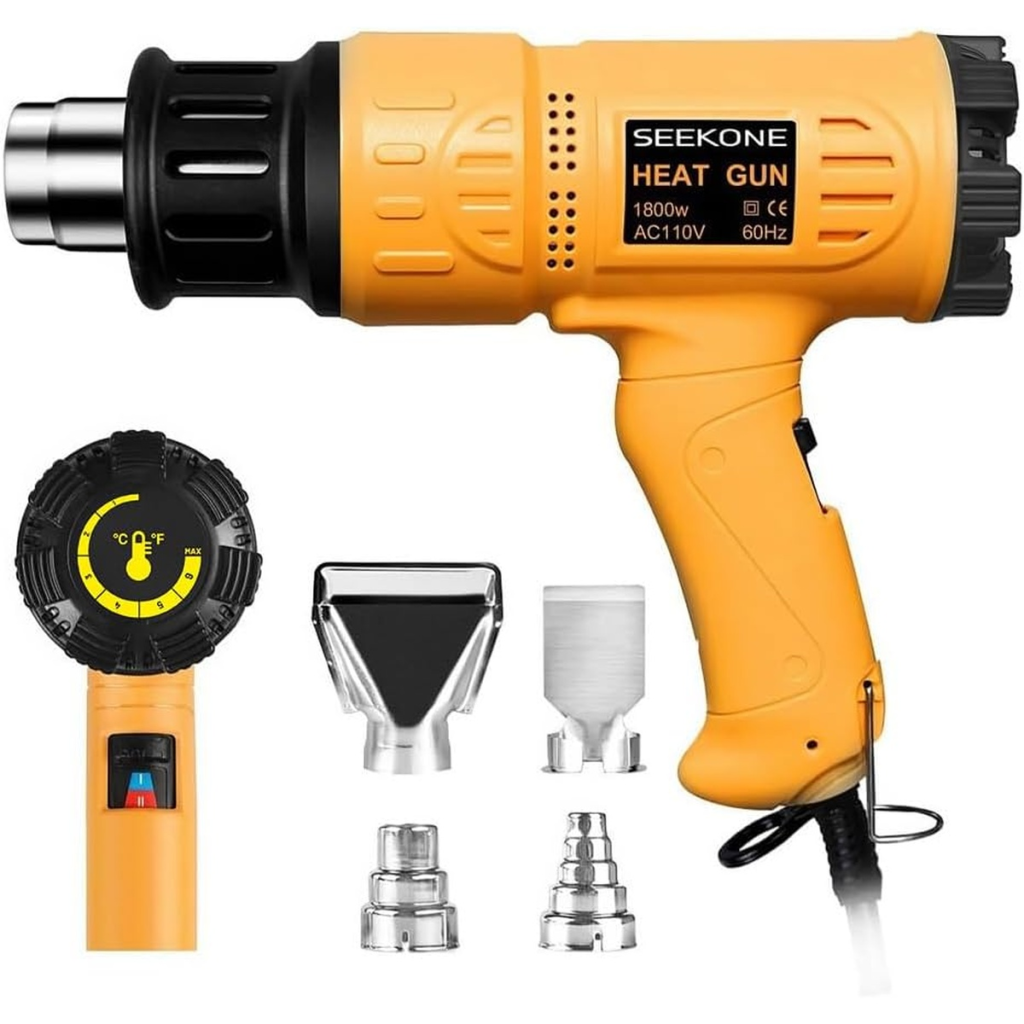
SEEKONE Heat Gun
- 35k+ Reviews / 4.5 Stars
- Nozzle accessories included for focused heat
- scientific ergonomic design
Method 2: Adhesive Removers (The Chemical Warfare)
For stubborn residue or if the heat method leaves a sticky mess, it's time to bring in the chemical cavalry. Always test a small, inconspicuous area first, especially with stronger solvents, to ensure they don't damage your paint or clear coat.
Common Adhesive Removers and How to Use Them:
Goo Gone Citrus-Based Remover
These are generally safe for automotive paint and effective on most adhesives.
- Application: Spray or dab onto the residue.
- Dwell Time: Allow it to sit for a few minutes (check product instructions). The residue should start to soften and dissolve.
- Removal: Gently wipe away with a clean microfiber towel. You may need to repeat this process.
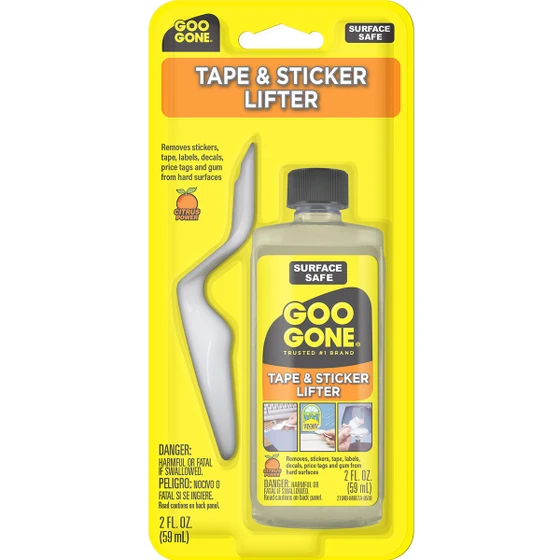
Goo Gone Sticker Lifter
- 2.8k+ Reviews / 4.5 Stars
- Formulated with citrus cleaning agents and a pleasant citrus scent
- Sticker lifting tool included
Rubbing Alcohol (Isopropyl Alcohol - IPA)
Good for lighter residue and often safe for paint.
- Application: Damen a microfiber towel with IPA.
- Dwell Time: Let it sit on the residue for a minute or so.
- Removal: Gently rub the residue away.
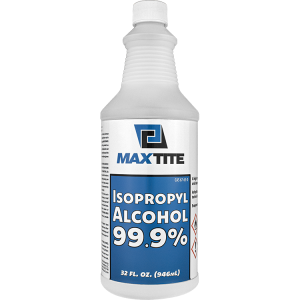
Maxtite Isopropyl Alcohol
- 5k+ Reviews / 5 Stars
- Helps dissolve reactive specialty adhesives
- Technical Grade - Highest Purity & Quality
Mineral Spirits / Paint Thinner
More aggressive, use with caution and definitely test first. Best for very stubborn, aged adhesive.
- Application: Apply sparingly to a microfiber towel, not directly to paint.
- Dwell Time: Short dwell time, do not let it dry on the paint.
- Removal: Wipe gently. Follow up with a gentler cleaner quickly.
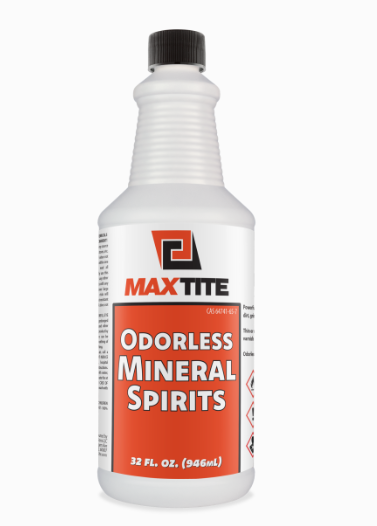
Maxtite - Mineral Spirits
- 13+ Reviews / 4.5 Stars
- Professional-Grade Odorless Formula
- Reliable Performance
WD-40
Surprisingly effective on some adhesives due to its oil base, and generally safe for paint.
- Application: Spray directly onto the residue.
- Dwell Time: Allow to penetrate for several minutes.
- Removal: Wipe away with a clean microfiber towel.
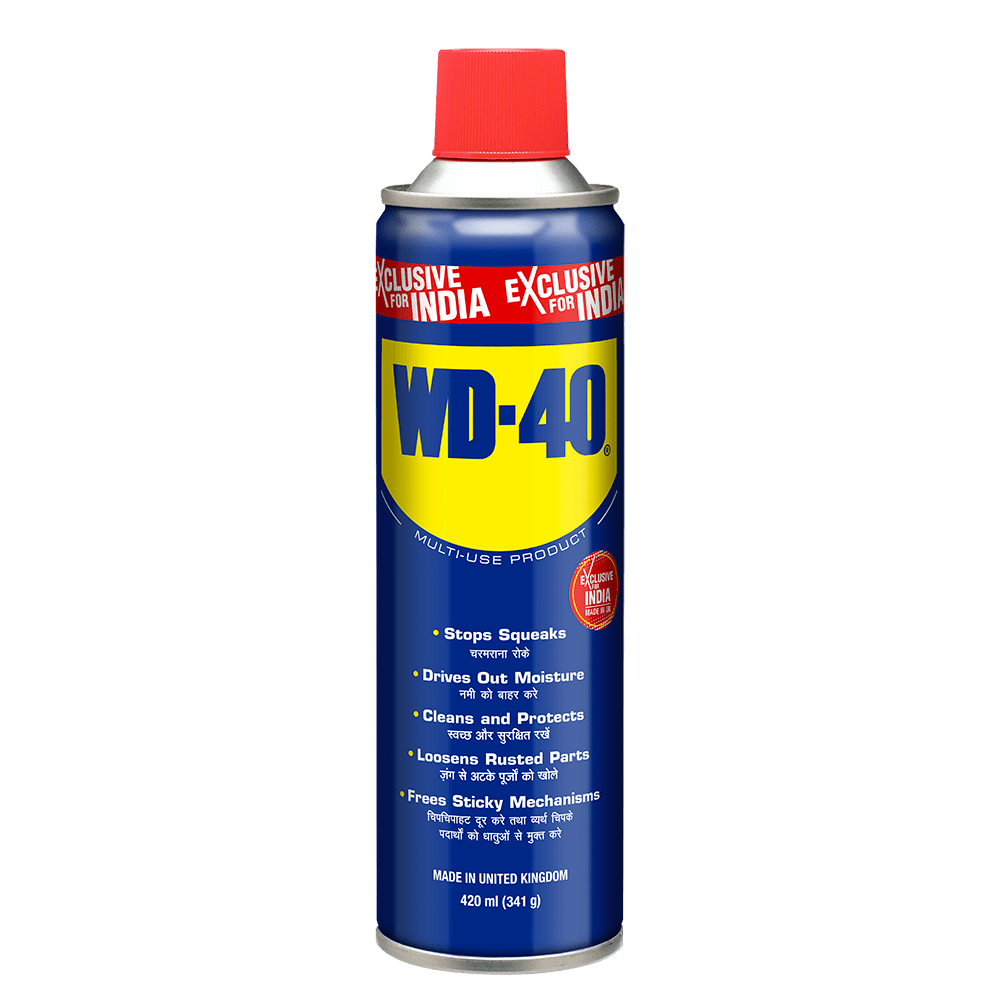
WD-40
- 468+ Reviews / 4.5 Stars
- Lubricates, penetrates, protects, removes, and displaces moisture
- Safe on rubber, metal, wood, and most plastics
3M Specialized automotive Adhesive Removers
These are formulated specifically for car paint and are highly effective.
- Application & Dwell Time: Follow product instructions precisely.
- Removal: Wipe away with a clean microfiber towel.
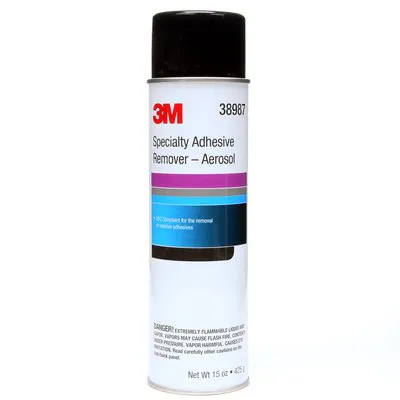
3M - Specialty Adhesive Remover
- 468+ Reviews / 4.5 Stars
- Helps dissolve reactive specialty adhesives
- Solvent based
General Adhesive Removal Steps:
- Apply: Apply your chosen remover to a clean microfiber towel, then dab or wipe onto the adhesive residue. For thick residue, you can apply directly, but exercise caution with stronger solvents.
- Dwell: Allow the product to penetrate the adhesive for the recommended time (typically 1-5 minutes). You'll often see the residue start to soften or lift.
- Agitate (Gently!): Using a plastic razor blade, an old credit card, or a clean microfiber towel, gently scrape or rub the softened adhesive. Work in small sections.
- Wipe and Repeat: Wipe away the loosened adhesive with a clean microfiber towel. If residue remains, reapply the remover and repeat the process. Always use a clean section of your towel to avoid spreading the adhesive or scratching the paint.
- Rinse Thoroughly: After all adhesive is removed, thoroughly wash the area with car soap and water to remove any chemical residue. This is crucial to prevent potential paint damage from lingering solvents.
Post-Removal Care: The Finishing Touch
Once the sticker and all its sticky traces are gone, your work isn't quite finished. Proper post-removal care ensures the treated area looks as good as new.
- Inspect for "Ghosting":
- Sometimes, even after the adhesive is gone, you might see a faint outline of where the sticker used to be. This "ghosting" or "shadowing" is usually due to the surrounding paint fading slightly more than the protected area under the sticker.
- Solution: For minor ghosting, a light polish with an orbital polisher and a fine-grade polish can often blend the area. For more severe cases, professional paint correction might be needed.
- Solution: For minor ghosting, a light polish with an orbital polisher and a fine-grade polish can often blend the area. For more severe cases, professional paint correction might be needed.
- Sometimes, even after the adhesive is gone, you might see a faint outline of where the sticker used to be. This "ghosting" or "shadowing" is usually due to the surrounding paint fading slightly more than the protected area under the sticker.
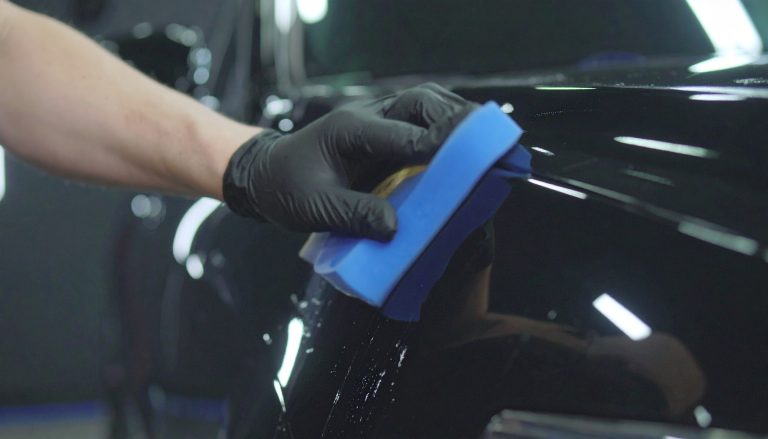
- Restore Protection:
- The removal process, especially with solvents, can strip away any wax or sealant that was on the paint. It's essential to reapply protection to the treated area.
- Apply Wax or Sealant: Use your preferred car wax, sealant, or ceramic coating spray to restore shine and protect the paint from environmental contaminants and UV rays.
- Apply Wax or Sealant: Use your preferred car wax, sealant, or ceramic coating spray to restore shine and protect the paint from environmental contaminants and UV rays.
- The removal process, especially with solvents, can strip away any wax or sealant that was on the paint. It's essential to reapply protection to the treated area.
- Full Vehicle Wash (Optional but Recommended):
- A final, full vehicle wash will ensure no residue or cleaning products are left anywhere else on the car, followed by a fresh layer of protection.
Common Mistakes to Avoid:
- Using Metal Scrapers: Never use metal razor blades or other sharp metal objects directly on your paint. They will scratch the clear coat instantly. Stick to plastic tools.
- Aggressive Rubbing: Excessive force, even with a microfiber towel, can cause swirls or scratches, especially if there's any abrasive residue present. Let the chemicals do the work.
- Applying Solvents to Hot Paint: Solvents evaporate too quickly on hot surfaces, making them less effective and potentially leaving behind residues or streaks.
- Ignoring Dwell Times: Rushing the process means the adhesive remover doesn't have enough time to break down the bond, leading to more aggressive scrubbing.
- Forgetting Post-Removal Protection: Skipping the wax/sealant step leaves your paint vulnerable to the elements.
Conclusion: A Clean Slate Awaits
Removing stickers and adhesive from your vehicle doesn't have to be a daunting task. By understanding the principles behind adhesion, utilizing the right tools and techniques, and exercising patience, you can achieve professional-level results at home. Whether you're reclaiming your vehicle's original aesthetics or preparing it for a new look, these methods will ensure a clean, damage-free finish every time. So go forth, armed with your heat gun and adhesive remover, and give your vehicle the spotless canvas it deserves!