
Car Polishing: A Beginner’s Guide
Car polishing is one of the best ways to protect your investment's exterior over time by removing the swirl marks, oxidation, and light scratches that can occur.
This brings back a glossy, showroom finish and will make your car both look new again while prepping for ceramic coating or PPF.
If you’re new to detailing, this beginner’s guide will show you step by step how to polish a car safely and effectively.
Why You Should Learn How to Polish a Car
Over time, paint becomes dull from sunlight, dirt, and daily driving. Washing helps keep it clean, but it doesn’t restore shine. Polishing smooths out the clear coat, which enhances depth, removes imperfections, and prepares the surface for wax or ceramic coating. Knowing how to polish a car not only makes it look better but also protects your investment.
How Polishing Works
Polishing a car works by leveling out the microscopic imperfections in the paint’s clear coat. Over time, swirl marks, oxidation, and fine scratches scatter light, making the surface look dull or hazy.
Polishing uses fine abrasives suspended in a compound to gently remove a thin layer of the clear coat, smoothing the surface so light reflects evenly. This restores depth, gloss, and clarity to the paint, preparing it for protection like wax, sealant, or ceramic coating. Essentially, polishing doesn’t just “clean” the paint—it refines it on a microscopic level for a mirror-like finish.

Step 1: Gather the Right Supplies
Before you begin polishing, make sure you have the right products and tools. Here are beginner-friendly options:
Clay Treatment:
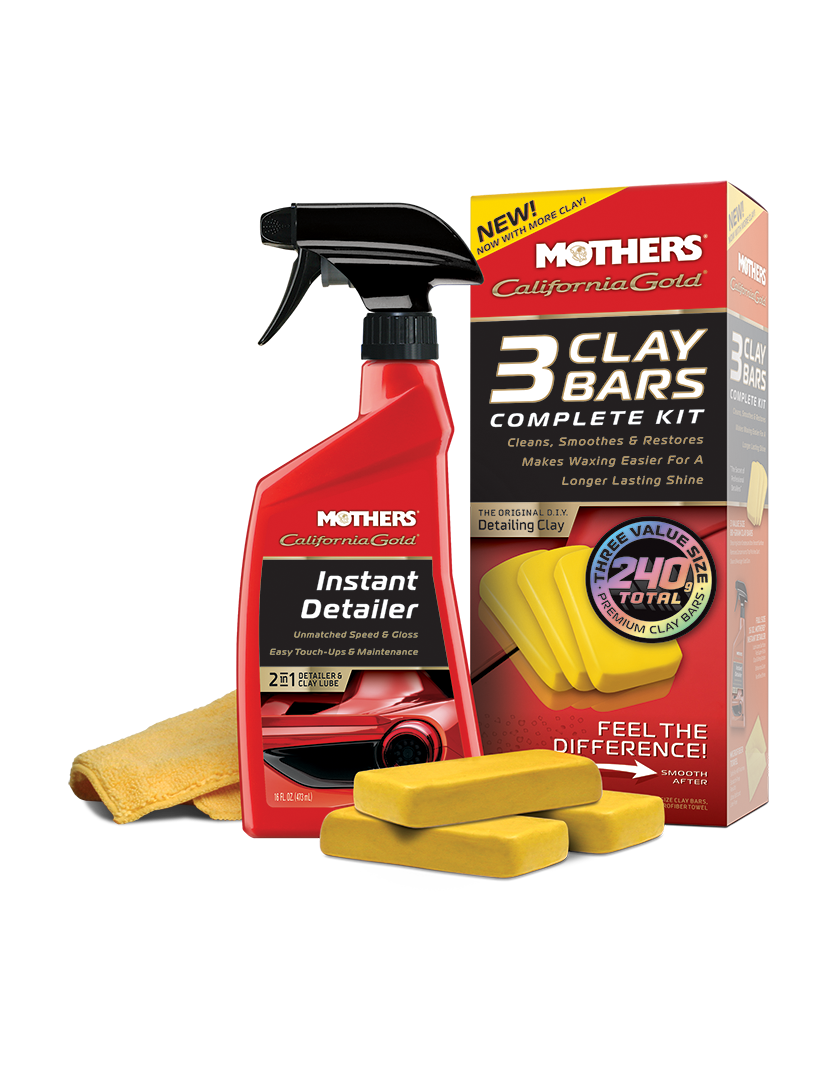
Mother's Clay Bar and Clay Lube
- 16k+ Reviews / 4.5 Stars
- Removes embedded decontaminates
- Adds depth and clarity to your vehicle's paint
Trim Masking Tape:

3M Automotive Refinish Masking Tape
- 3.5k+ Reviews / 4.5 Stars
- Adhesive Resists Lifting And Curling, Prevents Bleed Through, Helping To Maintain Sharp Paint Lines
- Flexible, Conformable Backing Resists Breaking For Faster And More Consistent Masking
- Leaves No Residue or damage. Quick and easy removal helps reduce scraping of residue
Polishing Compounds:
Polishes come in different grit levels, much like sandpaper, and each serves a specific purpose in refining a vehicle’s paint.
- Heavy-cut compounds contain larger abrasives designed to remove deeper defects such as oxidation, scratches, and severe swirl marks by cutting through more of the clear coat.
- Medium-cut polishes use smaller abrasives that refine the surface further, eliminating haze and micro-marring left by heavier products.
- Ultra Fine finishing polishes have abrasives that bring out depth, clarity, and gloss, creating that mirror-like finish before applying a protective layer.
Choosing the right grit is about balancing correction power with surface refinement to achieve a flawless, even shine.


3D One - Hybrid Compound and Polish
- 8.5k+ Reviews / 4.5 Stars
- Acts as both a cutting compound and finishing polish, removing swirls, scratches, and oxidation in just one step
- Perfect for daily drivers, classics show cars, and everything in between
- Developed with over 25 years of car care experience, 3D One is proudly made in the USA and trusted by pros worldwide
Polishing Pads

Chemical Guys 3 Pad Sampler Set
- Includes three professional-grade foam pads
- Cutting, polishing, and finishing pads included to tackle scratches, swirls, oxidation and more
- Included 16 oz solution restores foam pads after use, removing polish and residue buildup to extend pad life and ensure consistent detailing results.
- Hex logic surface design increases polishing efficiency, reduces heat, and ensures even product distribution
- Washable pads combined with included cleaner allow for multiple uses, making this 4-piece kit a cost-effective solution for professional or DIY detailing.
Beginners Dual Action Polisher:


AVID POWER 6-inch Dual Action/DA Buffer / Polisher
- 7.4k Reviews / 4.5 Stars
- Dual action random orbital motion ensures a swirl-free and burn-absent buffing results
- Variable 6 Speed Control allows you to adjust the car polisher speed between 1500 to 6800 rpm with the low speed used for waxing, buffing, the medium speed for polishing, cleaning and the high speed for removing paint defects and oxidation
- Easy to use
Higher End Dual Action Polisher:

Maxshine 6" DA Polisher
- 175 Reviews / 4.5 Stars
- Powerful 1000w motor provides high torque and consistent power for heavy correction, polishing, and finishing applications.
- 21MM Long throw design maximizes coverage and efficiency, reducing working time while achieving swirl-free, professional finishes.
- Adjustable 6-speed dial allows for precise control across cutting, polishing, and waxing stages.
- Balanced and comfortable design minimizes fatigue for extended detailing sessions.
- Professional performance
Wiping Towels:
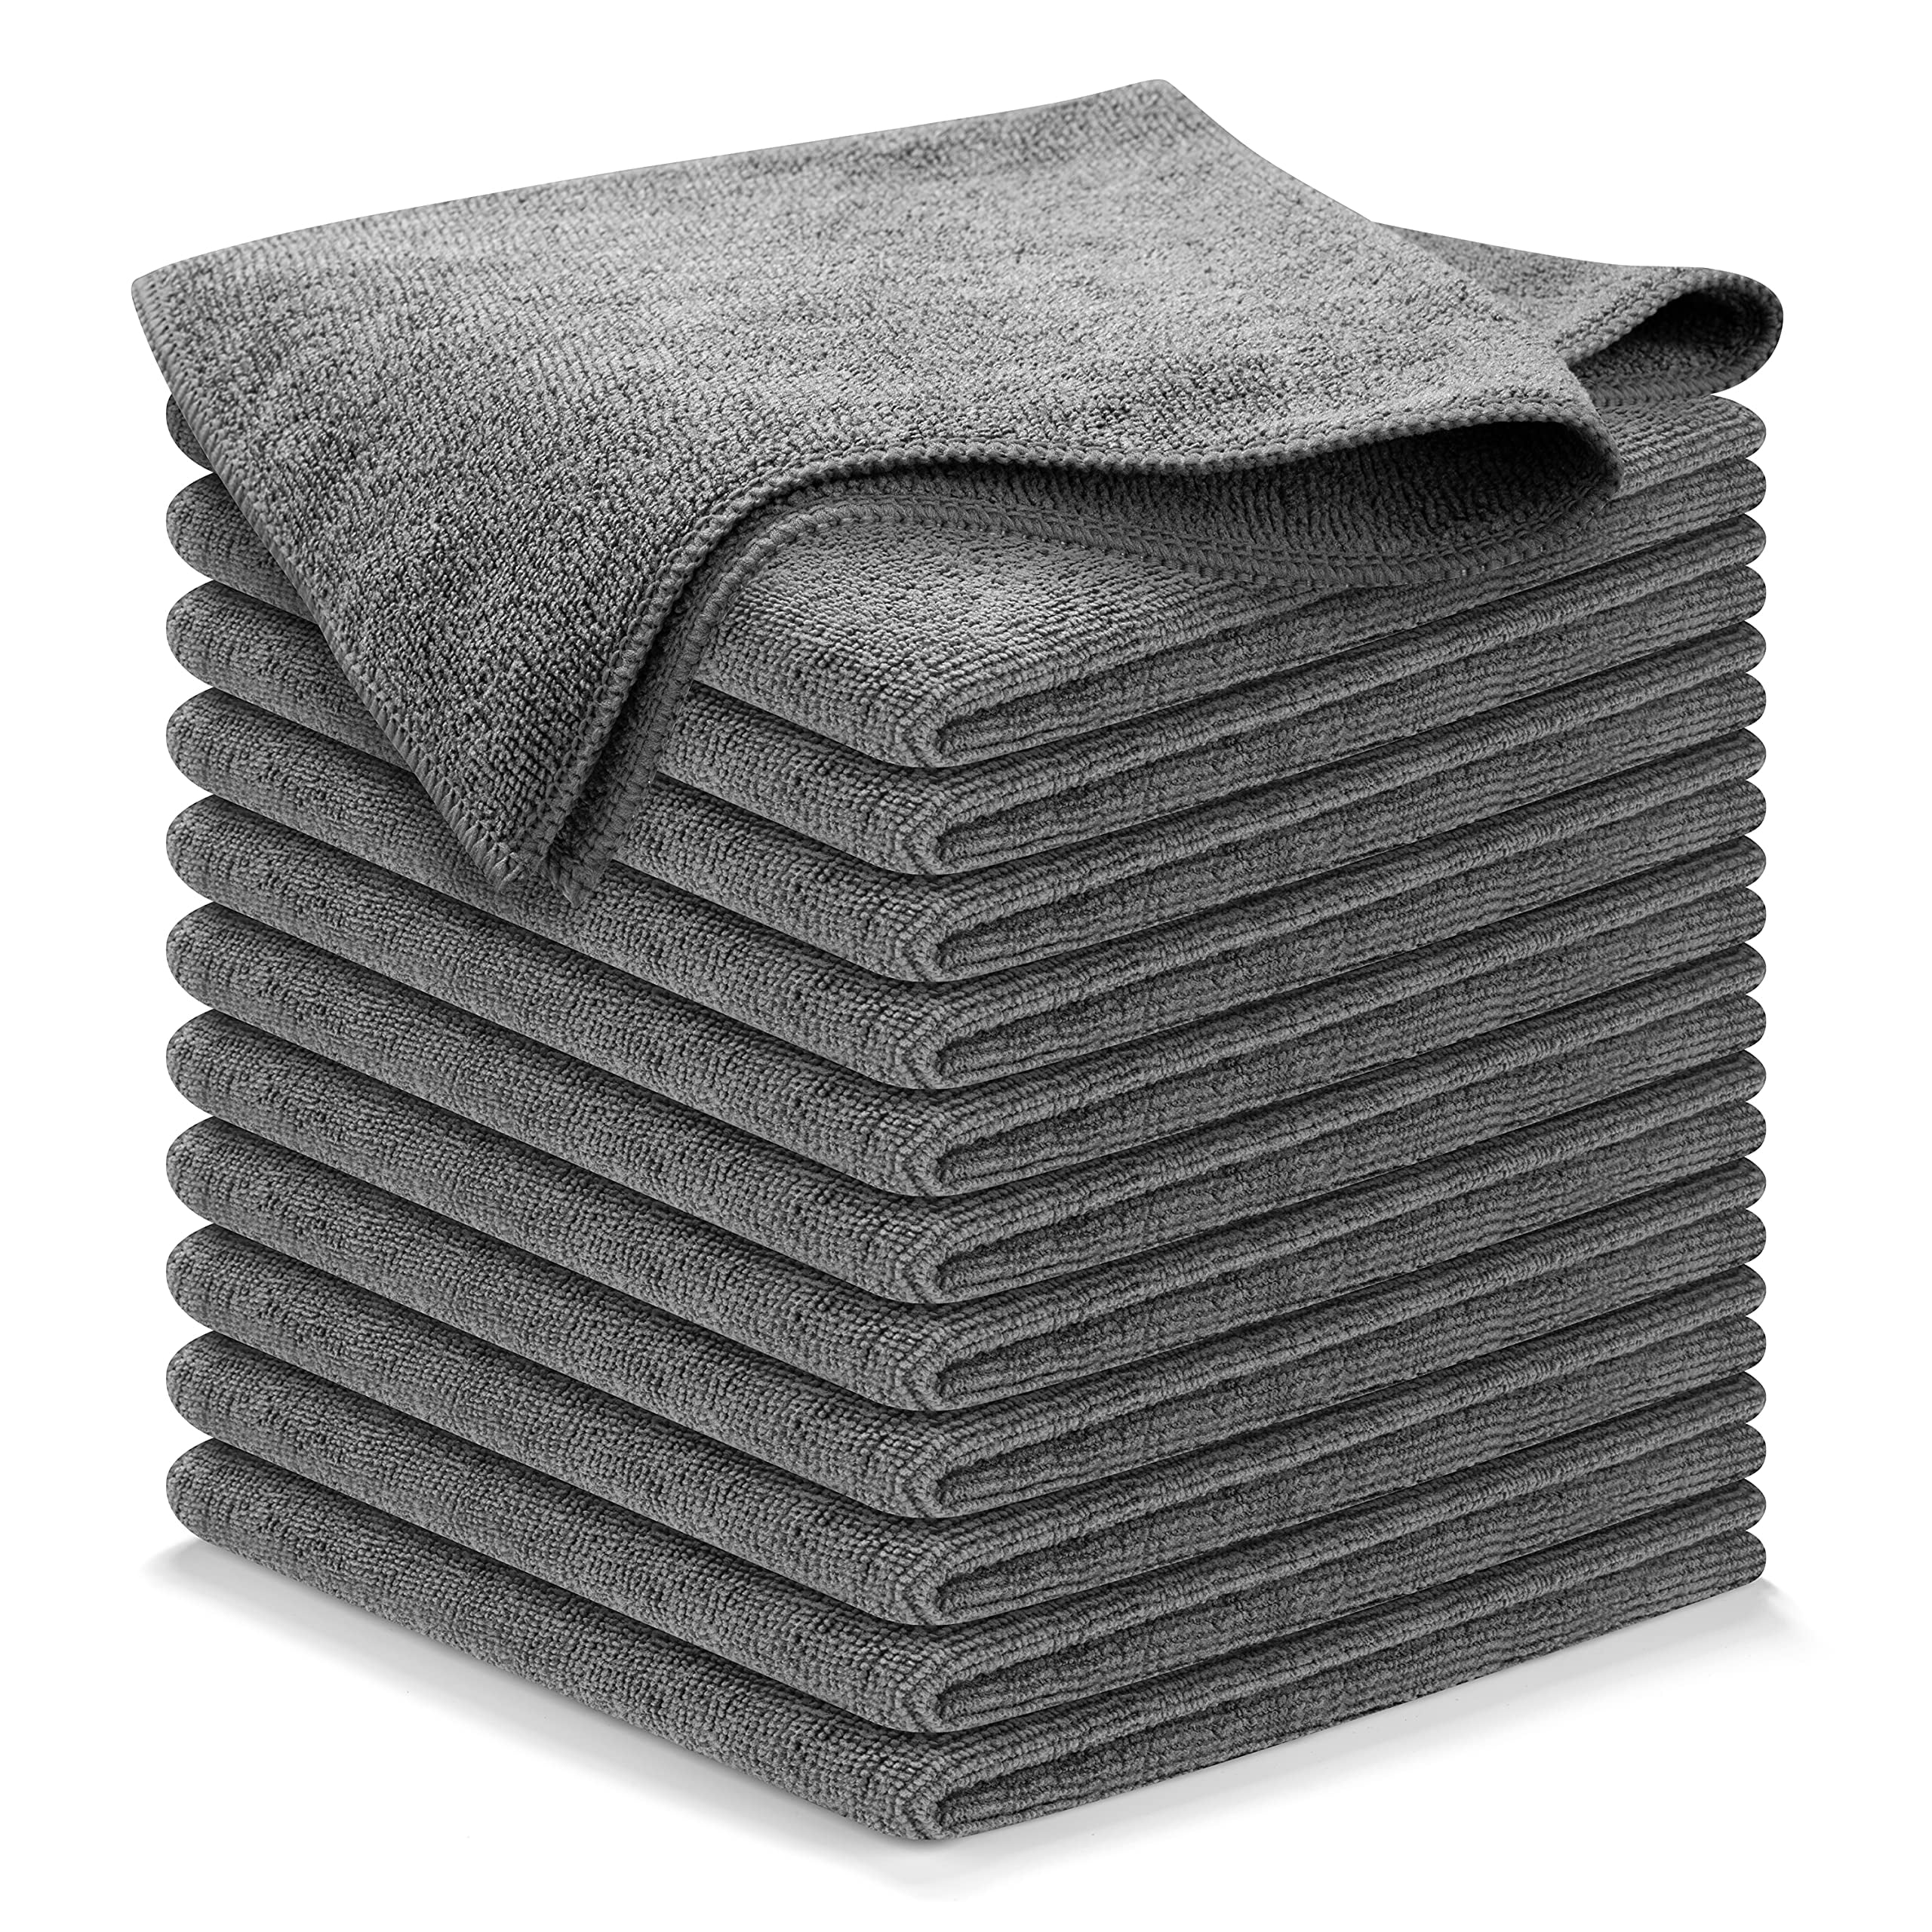
Microfiber Towels
- 15k Reviews / 4.5 Stars
- Ultra absorbent 300GSM
- Won't lint, scratch, pill, shed, or bleed
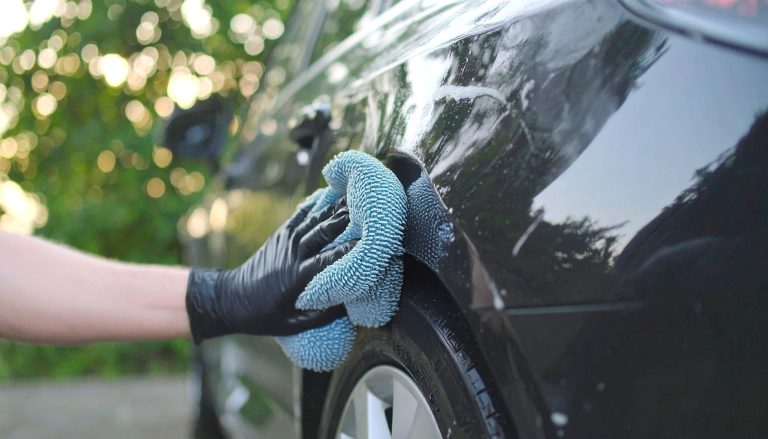
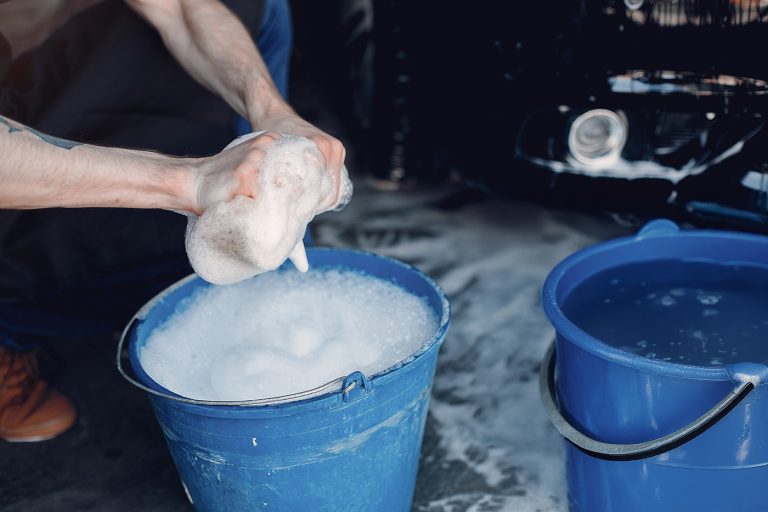
Step 2: Wash and Decontaminate
If you want to know how to polish a car properly, start with a clean surface.
- Wash thoroughly with car soap and a microfiber mitt.
- After drying, use a clay bar kit with lubricant to pull off embedded contaminants. Skipping this step can cause scratches during polishing.
To learn more about the proper way to wash to avoid swirl marks, check out our article below on the 2-bucket method to washing.
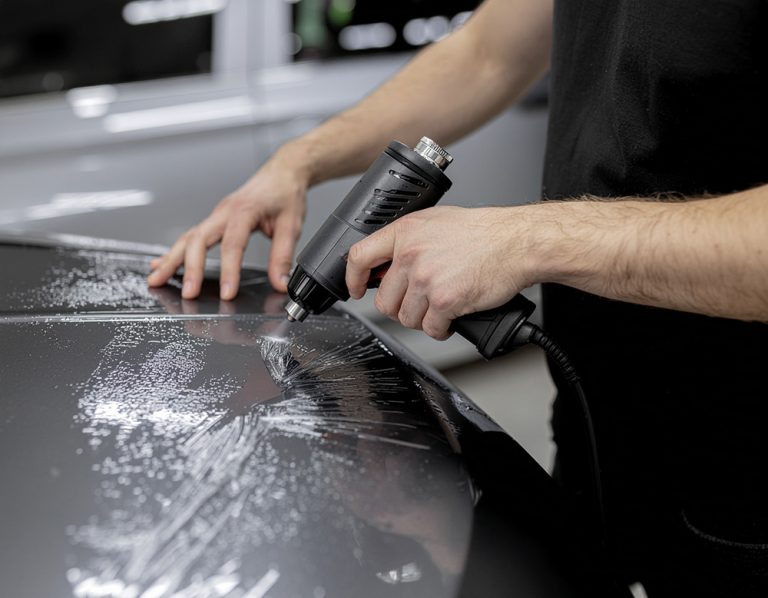
Step 3: Tape Off Sensitive Areas

Polish can stain trim and rubber seals. Use automotive masking tape to protect edges, badges, and any textured plastic. This small step saves headaches later.
Step 4: Apply the Polish
There are two ways to apply polish depending on your comfort level:
By Hand:
- Add a few drops of 3D Polish to a foam applicator.
- Work in circular motions over a 2x2 ft section.
- Wipe clean with microfiber towels
By Machine Polisher:

1. Prepare Your Workspace
Set up in a clean, well-lit area and have all your materials ready—DA polisher, Hex-Logic pad, polish, and microfiber towels.
2. Apply the Polish
Add 3–4 small drops of polish onto the Hex-Logic pad attached to your DA polisher.
3. Prime the Work Area
Dab the pad directly onto the panel you’re working on, spreading a few dots of polish evenly before turning the polisher on. Always work one panel at a time.
4. Start Safely
Begin and end with the polisher on the vehicle’s surface to avoid splatter. Never start or stop the machine in the air.
5. Spread and Work the Product
Start at a low speed to spread the polish in overlapping passes across the panel. Once evenly spread, increase the speed and make slow, steady passes. Let the polisher do the work—avoid pressing down hard.
6. Maintain Pad Contact
Keep the pad flat and ensure full, even contact with the surface. Adjust your angle as needed for curves or contours, and confirm the pad is rotating properly.
7. Inspect Your Work
When the polish begins to turn clear or hazy, stop and wipe the panel clean with a fresh microfiber towel. Check your results under good lighting and reapply polish on any remaining problem areas if needed.
The key to learning how to polish a car is patience. Move slowly and let the polish and pad do the work.
Step 5: Wipe and Inspect
Once you finish a section, wipe off residue with a clean microfiber towel. Inspect under good lighting. You should see fewer swirls, more depth, and a mirror-like finish. Repeat on stubborn spots if needed.
Make sure you get all the polish off of the car before you seal with a coating or film or the polish will be trapped underneath and look hazy.
Step 6: Protect the Paint
Polishing removes a thin layer of clear coat, so protection afterward is essential. Choose one of these options:
This final step keeps your hard work lasting longer.

P&S Bead Maker
- 6.7k Reviews / 4.5 Stars
- Simply spray on wet surfaces (as a drying aid) or dry surfaces and buff off with a premium microfiber towel
- Safe to use on paint, rubber, plastic, metal, glass, and more!
- UV filters and UV stabilizers combine for longer-lasting, super glossy shine every time
- Highly hydrophobic
- Master-level professional detailing products from P&S. Family owned & operated for over 50 years
Common Mistakes Beginners Make
1. Polishing a Dirty Surface Without Washing and Claying
- How to Avoid: Always start with a proper wash and clay bar treatment before polishing. This removes embedded dirt, tar, and brake dust that can get dragged across the paint and cause micro-scratches.
- Why It Matters: Polishing over contaminants grinds them into the clear coat, creating new swirl marks and undoing your work before you even begin.
2. Using Too Much Product
- How to Avoid: Use just 3–4 pea-sized drops on the pad for each panel. A thin, even layer cuts better and finishes cleaner than an overloaded pad. Clean the pad regularly during longer sessions.
- Why It Matters: Too much polish can clog the pad, reduce correction power, and sling product everywhere, leaving a smeary finish that’s hard to wipe off.
3. Pressing Too Hard With the Polisher
- How to Avoid: Let the machine and the polish do the work. Maintain light to moderate pressure, keeping the pad flat and rotating freely.
- Why It Matters: Excess pressure builds heat, slows pad rotation, and can cause hazing, holograms, or even burn through the clear coat.
4. Skipping Protective Wax, Sealant, or Coating Afterward
- How to Avoid: Always apply a protective layer immediately after polishing. Whether you use a wax, sealant, or ceramic coating, it locks in your results and shields the paint from UV, water spots, and oxidation.
- Why It Matters: Polishing removes a thin layer of clear coat, leaving the surface exposed. Without protection, the finish will dull quickly and lose its freshly polished look.
Final Thoughts
Once you know how to polish a car, you’ll never look at your vehicle the same way again. A polished finish not only makes your paint look incredible but also adds protection against the elements. Work slowly, use the right products, and always finish with protection.
Your car will thank you with a long-lasting, glossy shine.