HyperDip vs. Plasti Dip, Vinyl or Paint Protection Film
When it comes to changing a car’s look or protecting its paint, most enthusiasts think of Plasti Dip, vinyl wraps, or PPF (paint protection film). Now there’s a newer option: HyperDip.
Designed by DipYourCar as the next evolution of Plasti Dip, HyperDip delivers a smoother, more durable, and more paint-like finish — while still being peelable.
Here’s how it stacks up against the other three options.
HyperDip vs. Plasti Dip
- Finish Quality: HyperDip sprays on smoother with fewer imperfections and more gloss options. Plasti Dip has a rubbery texture.
- Durability: HyperDip lasts longer, with better UV and chemical resistance. Plasti Dip tends to fade or peel sooner.
- Application: Both are DIY-friendly, but HyperDip has improved spray technology for easier coverage.
- Cost: HyperDip is more expensive than Plasti Dip but still far cheaper than vinyl or PPF.
Verdict: If you want peelable paint but closer to the look of a wrap, HyperDip is the clear upgrade.
HyperDip vs. Vinyl Wrap
- Finish Quality: HyperDip delivers a realistic paint-like finish, but vinyl offers more textures (chrome, carbon fiber, brushed metal).
- Durability: Vinyl generally lasts longer (3–7 years) compared to HyperDip (2–5 years).
- Flexibility: HyperDip can be applied and removed at home. Vinyl usually requires professional installation and removal.
- Cost: HyperDip is much cheaper for full-vehicle changes than vinyl.
Verdict: Choose HyperDip if you want DIY, affordable, peelable color changes. Choose vinyl if you want a high-end look with textures or graphics.
HyperDip vs. PPF
- Protection Level: PPF is designed to protect against rock chips, scratches, and UV — HyperDip only offers light protection.
- Appearance: PPF is mostly clear or matte, designed to preserve the original paint. HyperDip changes the look completely.
- Durability: PPF lasts 5–10 years, much longer than HyperDip.
- Cost: PPF is the most expensive option, often $5k+ for full coverage.
Verdict: HyperDip is for style and flexibility. PPF is for serious, long-term paint protection.
Good Ideas for Using HyperDip
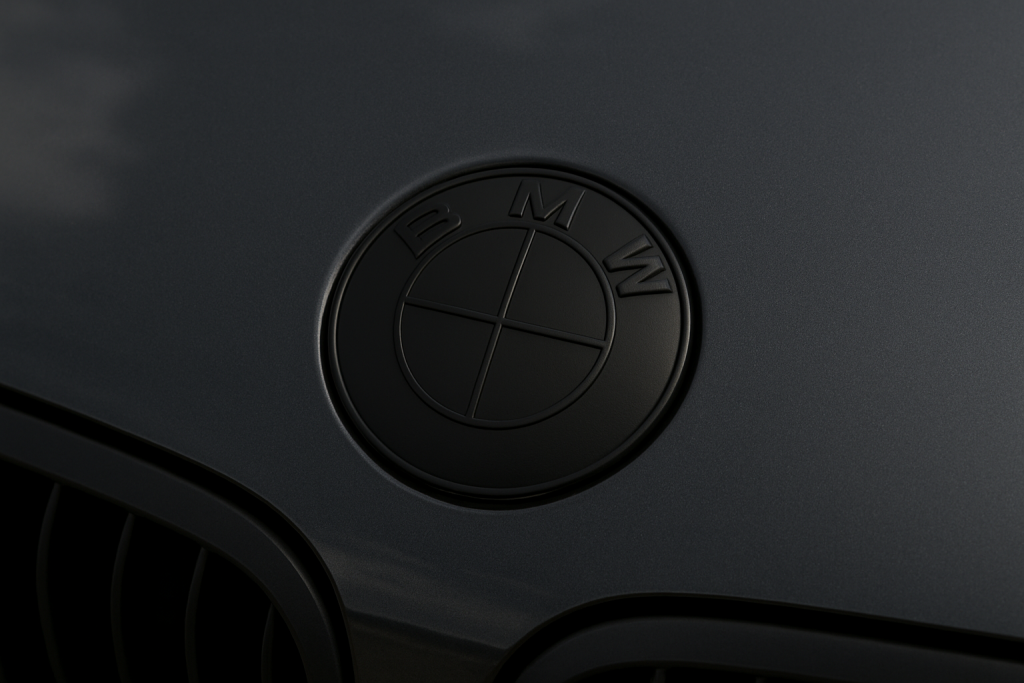
Emblems & Badges
- Blacked-Out Badges: A clean, stealth look on BMW, Audi, or Mercedes logos.
- Custom Accents: Use metallic or pearl HyperDip to highlight brand logos without buying new emblems.
Wheels & Rims
- Full Wheel Color Change: Matte black, bronze, or gloss gunmetal finishes are popular.
- Two-Tone Designs: Spray the spokes one color and leave accents in another for contrast.
- Seasonal Change: Black wheels in winter, brighter metallics in summer.
Exterior Trim & Accents
- Chrome Delete: Cover chrome window trim, grilles, or side moldings with matte black or satin HyperDip.
- Mirror Caps & Door Handles: Quick way to add a sportier look without replacing parts.
- Front Grilles: Aggressive blackout effect that costs far less than aftermarket replacements.
Full Vehicle Color Changes
- Complete Respray Alternative: Matte, satin, or gloss HyperDip can change the entire look of your car at a fraction of the cost of vinyl.
- Test Colors Before Wrapping/Painting: Try bold colors like gloss metallic red or matte charcoal before committing to a permanent job.
Interior Applications
- Dash Trim & Accents: Change silver or wood-grain trims to black or color-matched finishes.
- Center Consoles & Switch Panels: Gives older interiors a modern refresh.
Motorcycles & Powersports
- Fairings & Tanks: Matte black or pearl colors work great on bikes.
- Wheels & Frames: Custom look with peelable reversibility.
Work & Off-Road Vehicles
- Protective Coating: Use HyperDip on bumpers, skid plates, or rocker panels to shield from road salt, grime, and scratches.
- Temporary Styling: Change the look of a Jeep or truck for events or off-road trips, then peel it back later.
Specialty/Creative Uses
- Toolboxes & Equipment: Customize shop gear or garage items.
- Car Show Accents: Pearl, chameleon, or high-gloss finishes for one-off event looks.
- Business Branding: Temporary color accents for fleet vehicles or promotional events.
HyperDip Installation Guide
HyperDip is a next-generation peelable paint designed to give a smooth, paint-like finish that looks closer to vinyl or a respray than traditional Plasti Dip.
It’s DIY-friendly, but proper prep and technique make the difference between a flawless result and a patchy finish. Follow this step-by-step guide to apply HyperDip like a pro.
Recommended Product:
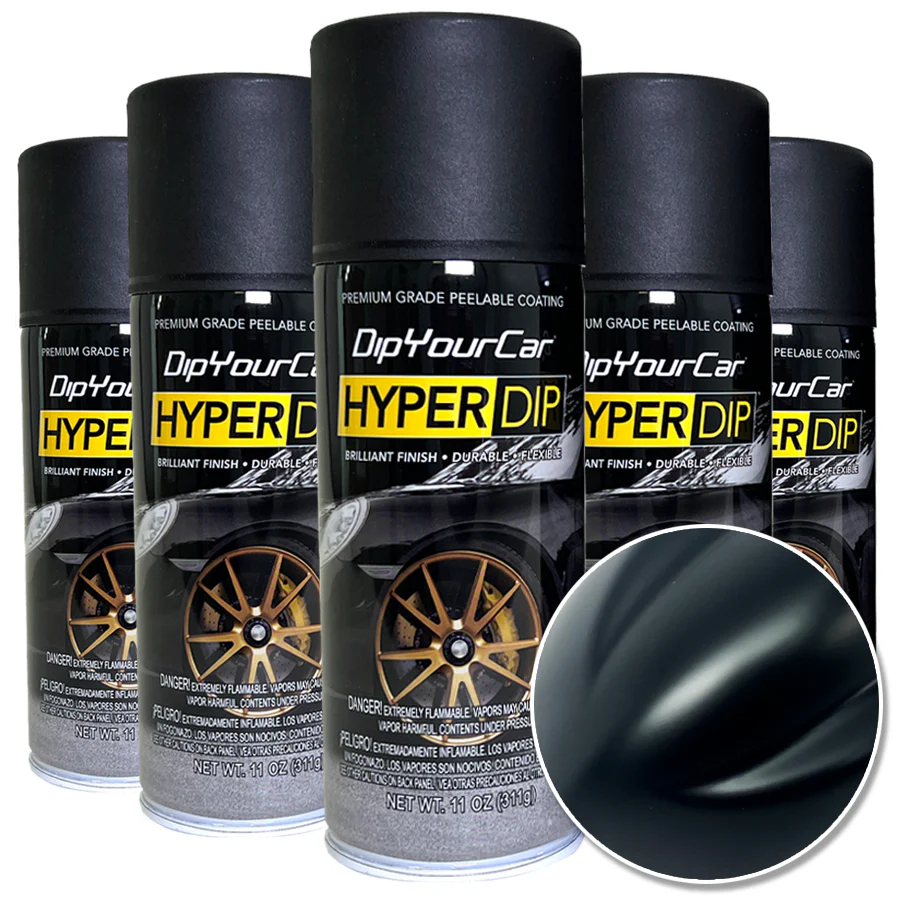
HyperDip 4 Pack - Matte
- 225 Reviews / 4.5 Stars
- Frozen Black formula (Matte)
- Abrasion and Water Resistance
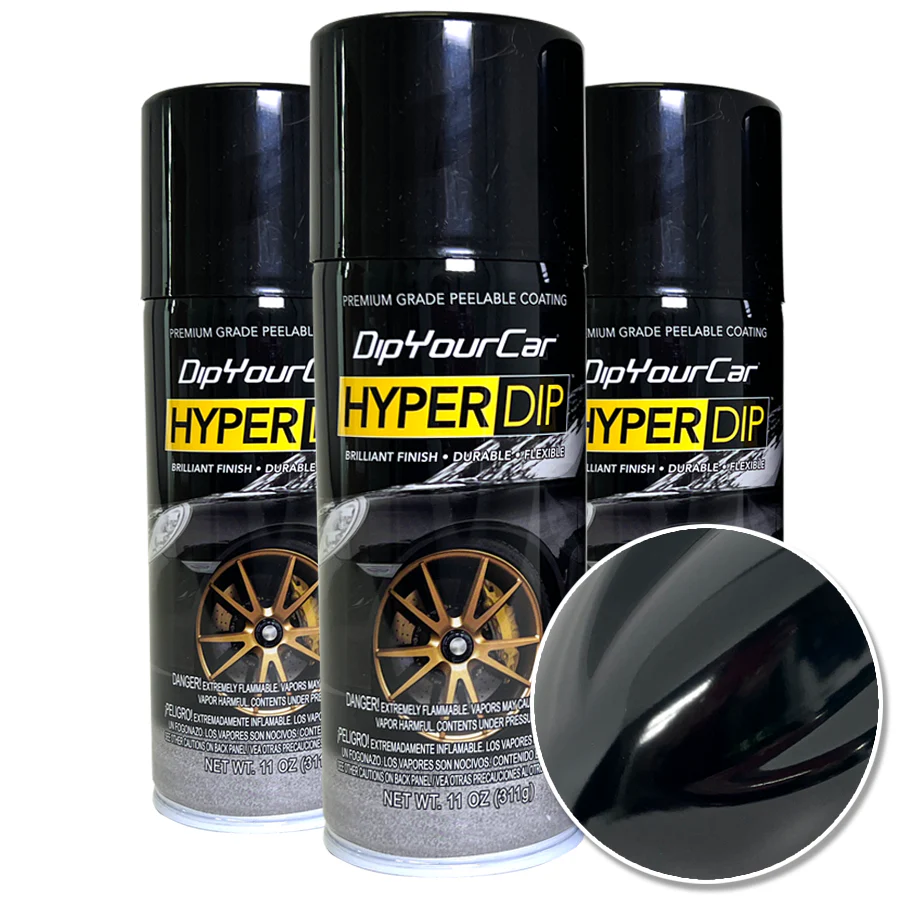
HyperDip 4 Pack - Gloss
- 225+ Reviews / 4.5 Stars
- Piano Black formula (Gloss)
- Abrasion and Water Resistance
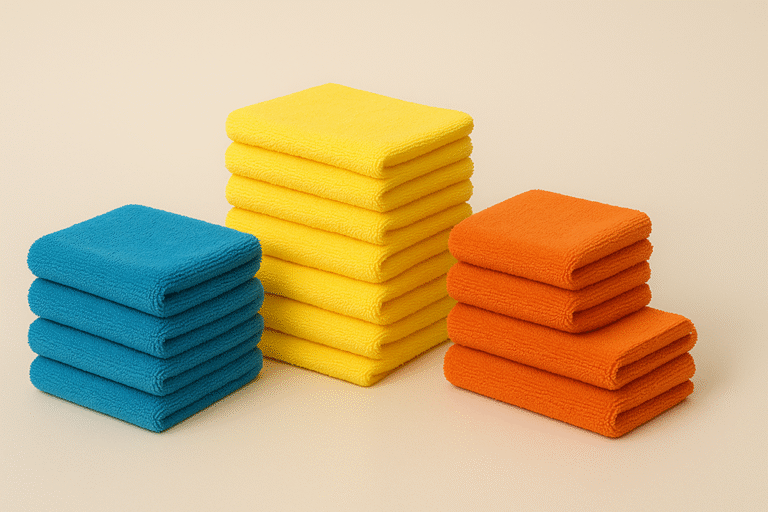
Tools & Materials Needed
- HyperDip spray cans (or gallons with spray system)
- Painter’s tape (blue or automotive-grade)
- Plastic wrap, masking paper, or drop cloths
- Microfiber towels
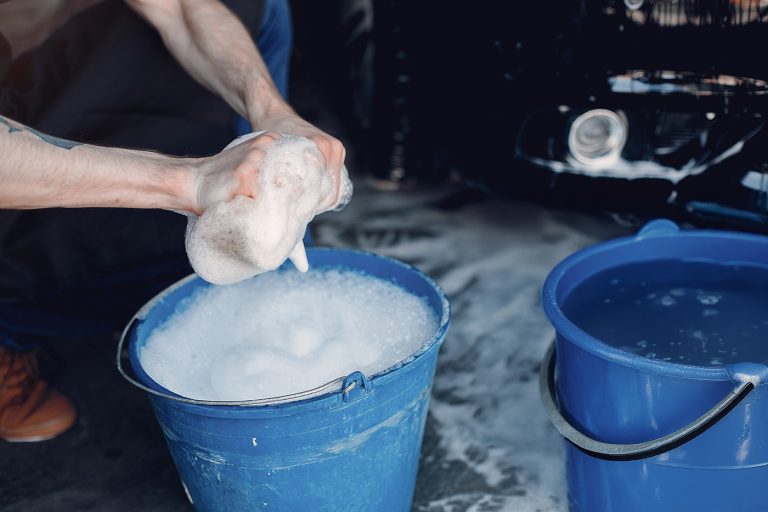
- Car soap and water
- Degreaser or isopropyl alcohol (for final wipe)
- Gloves and safety mask IMPORTANT!
- Good lighting and a well-ventilated, dust-free workspace
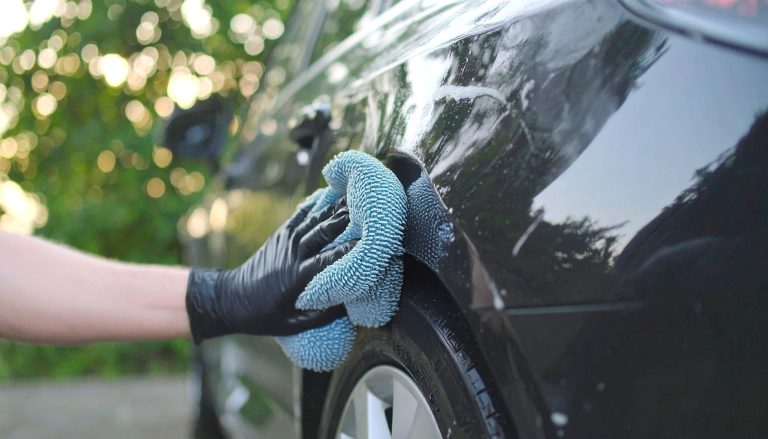
Step 1: Preparation
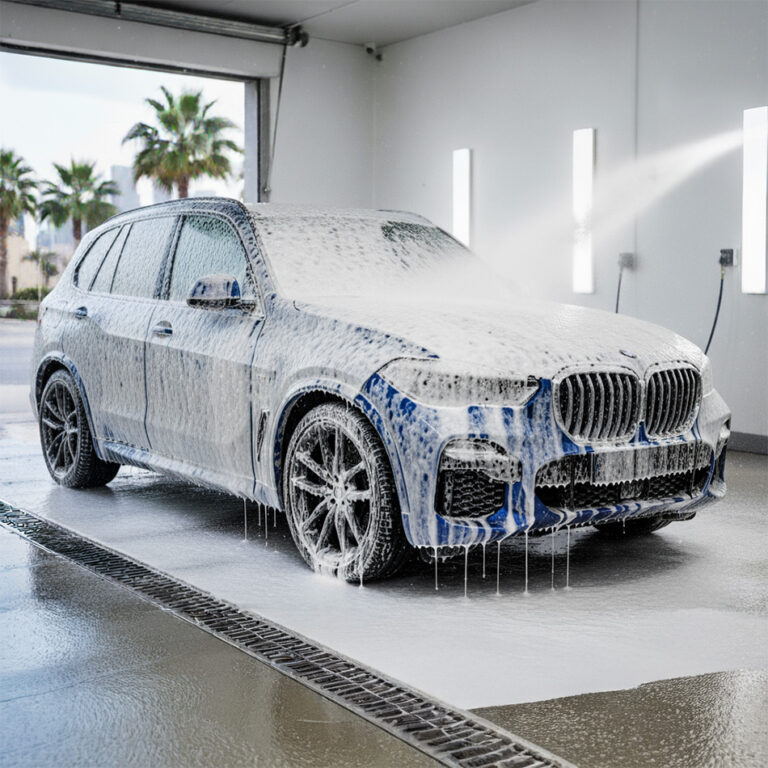
- Wash Thoroughly: Clean the surface with soap and water, removing dirt, grease, and wax.
- Dry Completely: Use microfiber towels — any moisture will cause poor adhesion.
- Mask Off Areas: Use tape and masking film to cover any areas you don’t want sprayed (glass, trim, headlights, tires).
- Final Wipe: Use isopropyl alcohol or a degreaser to remove any oils or residues.
Pro Tip: Prep is 80% of the job. The better your masking and cleaning, the better your final result.
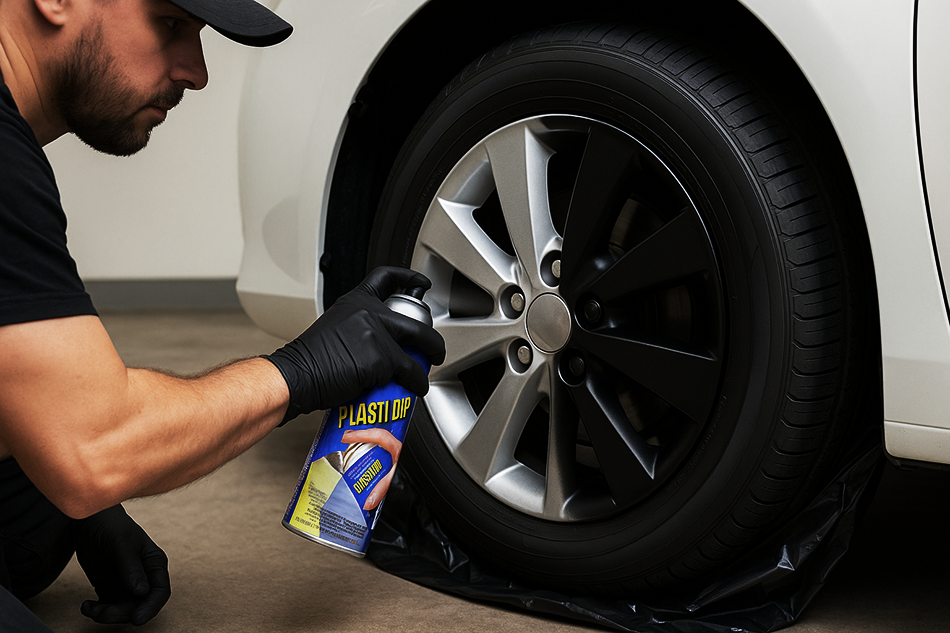
Step 2: First Coat (Tack Layer)
- Shake the can for 2+ minutes before spraying.
- Hold the can 6–8 inches from the surface.
- Apply a very light mist coat. This isn’t for coverage — it helps the following coats stick.
- Let dry for 15–20 minutes.
Step 3: Building Coverage
- Apply 4–6 coats total, depending on color and surface. Darker shades may need fewer, while lighter or metallics may need more.
- Spray in smooth, overlapping passes (50% overlap).
- Keep the can moving at a steady speed to avoid runs.
- Allow 15–20 minutes drying time between coats.
Pro Tip: Each coat should be slightly wetter than the last, but never heavy enough to drip.
Step 4: Peel Tape & Masking
- After the last coat has dried for 30–40 minutes, carefully peel masking tape and paper.
- Pull tape at a 45-degree angle for clean edges.
- If the dip tears at an edge, use a razor blade to score the line gently before peeling.
Step 5: Curing
- Let the HyperDip cure for at least 4 hours before driving.
- Avoid washing the car or exposing it to harsh elements for 48 hours.
Maintenance
- Wash with gentle car soap and microfiber mitts.
- Avoid strong solvents or wax-based products.
- HyperDip detail sprays are available to maintain shine and slickness.
Pro Tips for Best Results
- Temperature matters: Apply in 60–80°F (15–27°C) with low humidity.
- More coats = easier removal: A thick application peels off cleanly.
- Wheels: If spraying wheels, remove them for full coverage and avoid overspray on brakes.
- Test spray: Always spray on cardboard first to ensure even flow from the nozzle.
Bottom Line
HyperDip bridges the gap between DIY Plasti Dip and professional vinyl wraps. With proper prep, patience, and enough coats, you’ll achieve a durable, peelable, and automotive-grade finish that can last years while still being reversible.
Also, wear a mask when spraying this product!