
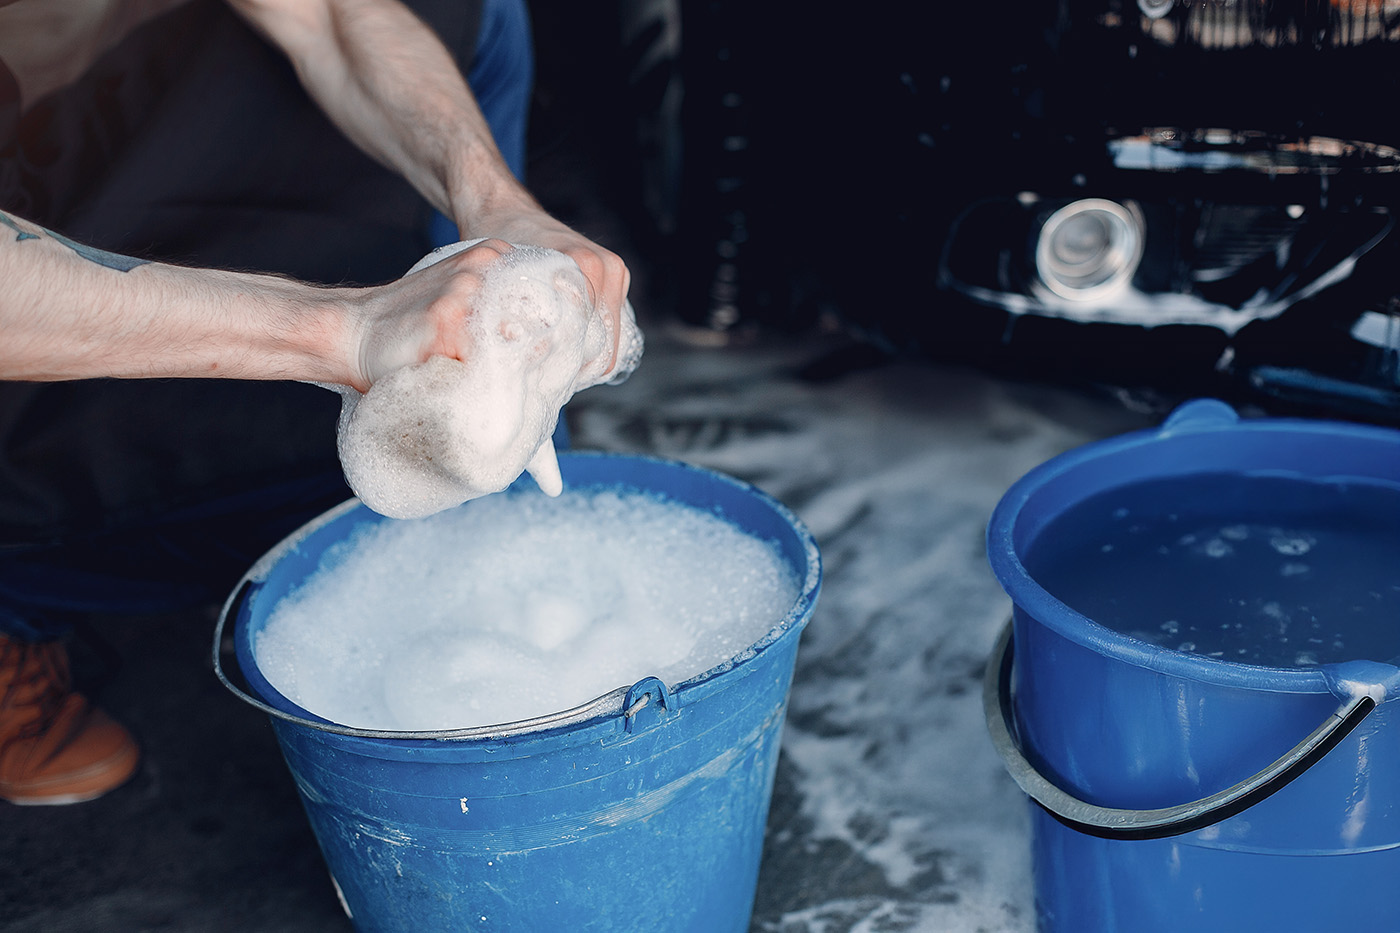
2-Bucket Car Wash Method
The two-bucket car wash method is a simple detailing trick that dramatically reduces this risk of creating scratches on your cars paint during the washing process.
By using two buckets—one for soapy water and one for rinsing—you prevent contaminants from re-entering your wash mitt and scratching your paint.
Here is a breakdown of the 2-bucket car wash.
Benefits of the 2-Bucket Car Wash Method
1. Reduces Swirl Marks
2-Bucket car wash method allows dirt to get trapped in the rinse bucket instead of being scrubbed back onto your car’s surface upon rewetting the sponge.
2. Keeps Wash Water Cleaner
Your soap bucket stays cleaner, so you’re always applying fresh, lubricating suds.
3. Extends Paint Protection
Less scratching means your clear coat, wax, or ceramic coating lasts longer. We are trying to prevent the swirl marks that leave evidence of a bad detail job.
4. Professional-Grade Results
Detailers swear by this technique because it mimics how professionals care for paint.
What You Need
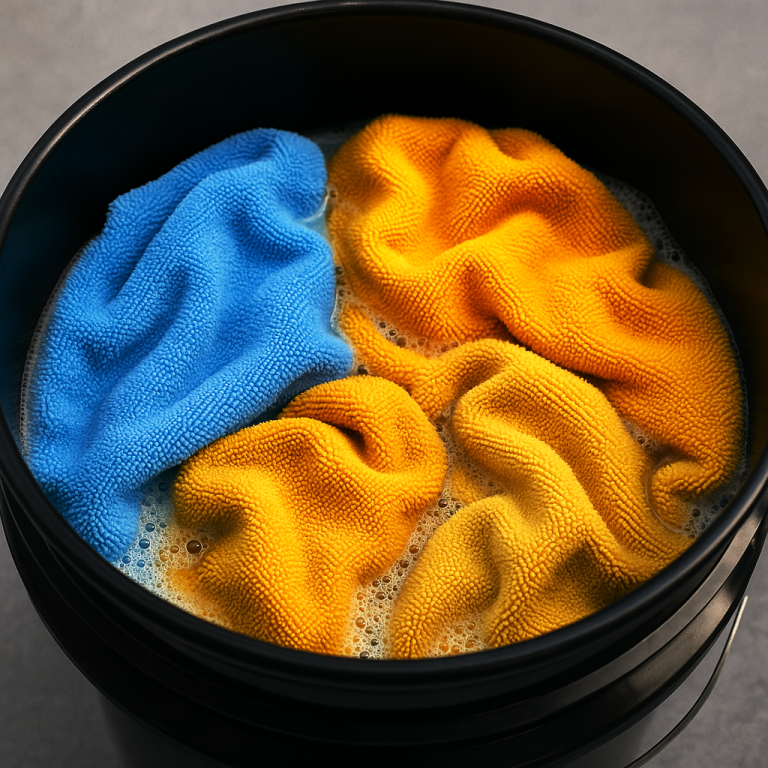
- Two buckets (with dirt trap if possible)
- pH-neutral car shampoo
- Microfiber wash mitt
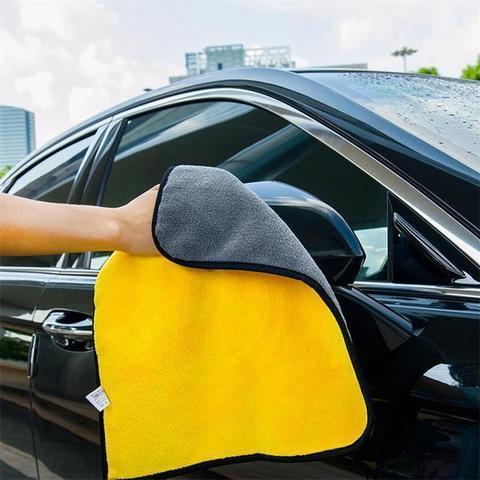
- Soft microfiber drying towels
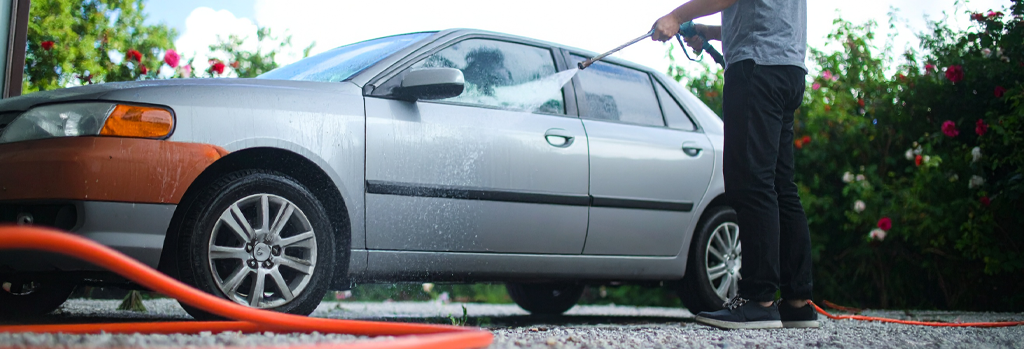
- Hose with a spray nozzle
Recommended Products:
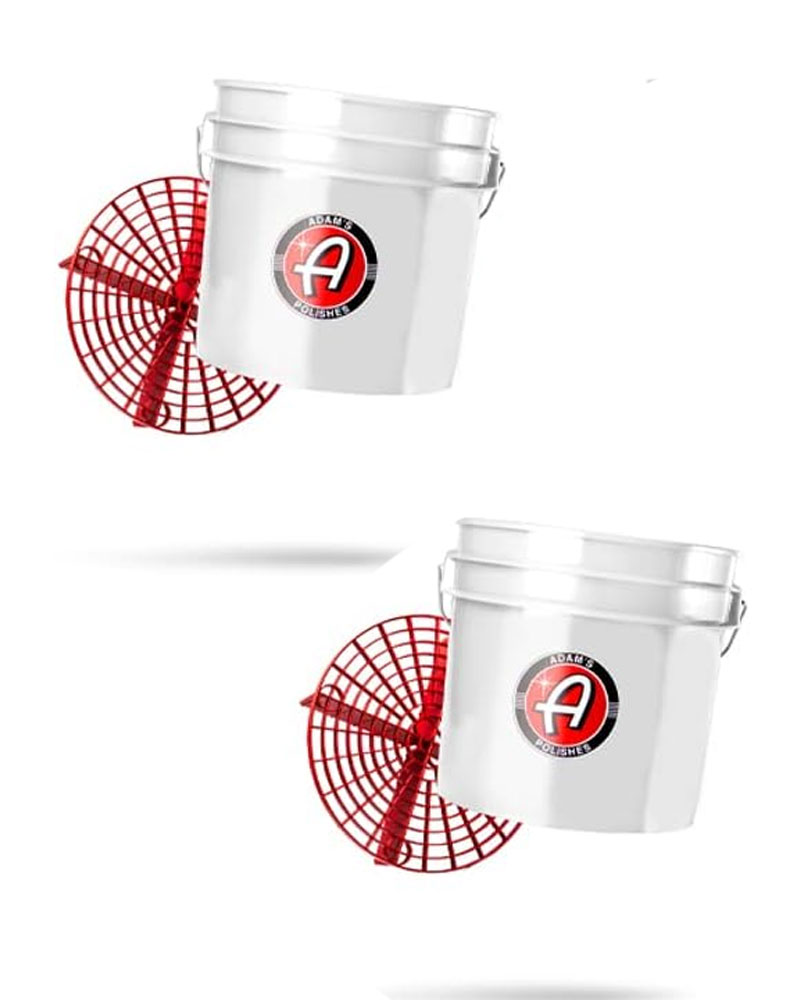
1. Set of 2 Buckets w/ Grit Guards
- 1.5k+ Reviews / 4.5 Stars
- Separates dirt and debris from wash mitt so dirt stays at the bottom
- Key to a swirl-free wash
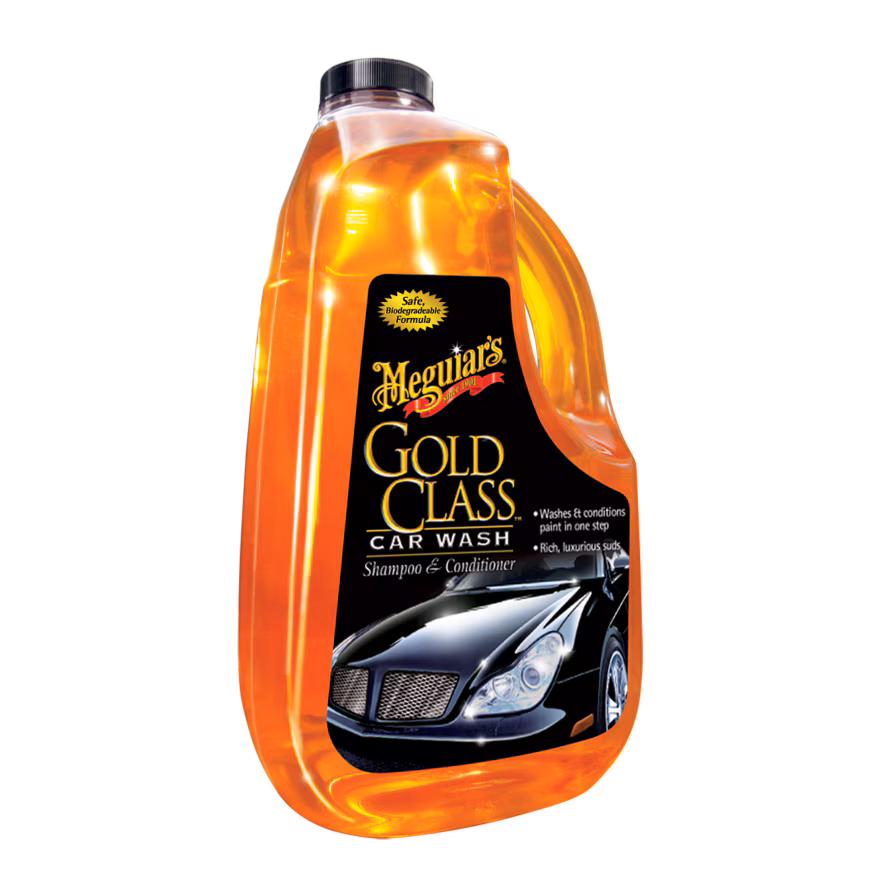
2. Meguiars - Gold Class Car Wash
- 14.5k+ Reviews / 4.5 Stars
- Trusted by the detail world
- Works with existing coatings
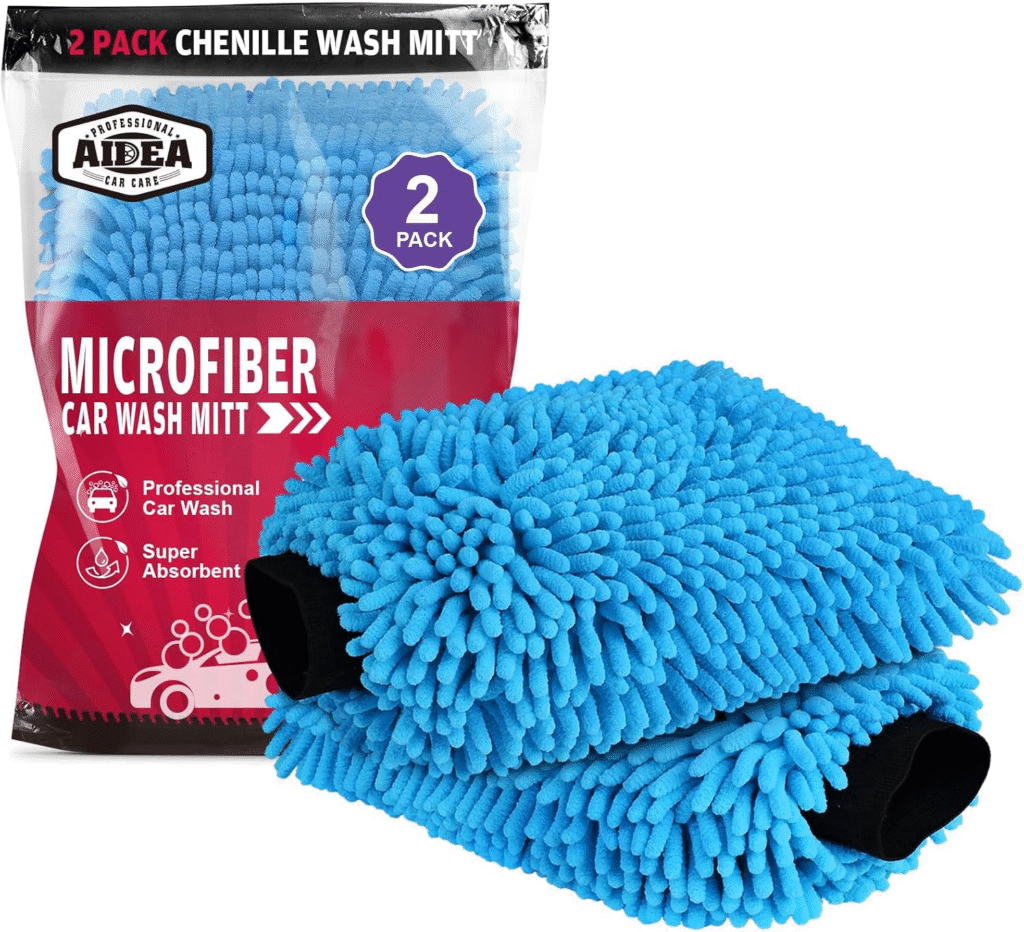
3. AIDEA Microfiber Wash Mitt - 2 pack
- 4.8k Reviews / 4.5 Stars
- Large, dense and ultra plush fibers give max absorption
- Machine washable and dryable
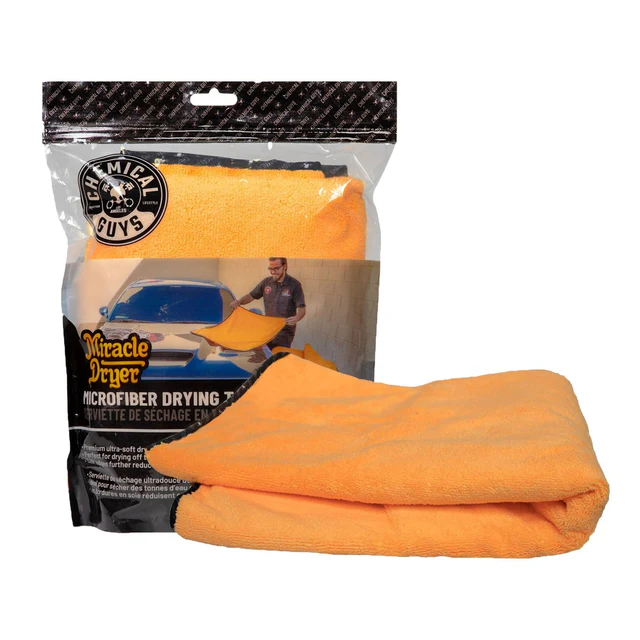
4. Chemical Guys - Microfiber Drying Towel
- 15k+ Reviews / 4.5 Stars
- Large size for maximum drying area
- Short and high pile fibers for high absorption
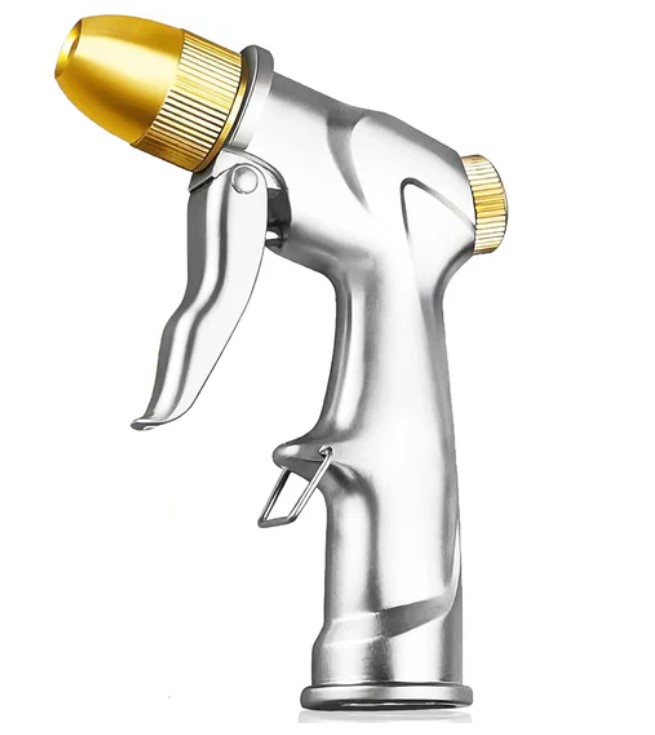
4. Garden Hose Spray Nozzle
- 23k+ Reviews / 4.5 Stars
- Heavy duty anti-rust design
- 4 spray patterns for different spraying scenarios
Step-by-Step Guide: 2-Bucket Car Wash Method
Step 1: Prep Your Buckets
- Fill one bucket with clean water (rinse bucket).
- Fill the other with water and your car shampoo (wash bucket).
- Add dirt-traps to trap the dirt at the bottom.
Step 2: Rinse the Car
- Use a hose to rinse off loose dirt and debris.
- Start from the roof and work your way down.
Step 3: Load the Wash Mitt
- Dip your wash mitt into the soapy wash bucket.
- Work one panel at a time, using straight-line motions instead of circles.
Step 4: Rinse the Mitt Frequently
- After washing a section, dunk the mitt into the rinse bucket and scrub it against the grit guard to release dirt.
- Then reload it with fresh soap from the wash bucket.
Step 5: Work Top to Bottom
- Always wash the cleanest areas (roof, hood) first and the dirtiest (lower panels, bumpers) last.
- Minimizes the chance of dragging grit across the paint.
Step 6: Final Rinse
- Give the entire car a gentle rinse to remove any leftover suds.
- At this point is when you would introduce clay treatment to decontaminate the paint. This makes your paint look great and is also a requirement for applying some ceramic coatings.
Step 7: Apply Drying Aid
- While the car is still wet, mist Technician's Choice - Aqua Glow over the surface.
- Adds lubrication, gloss and leaves behind protection that resists spotting.
Recommended Product:
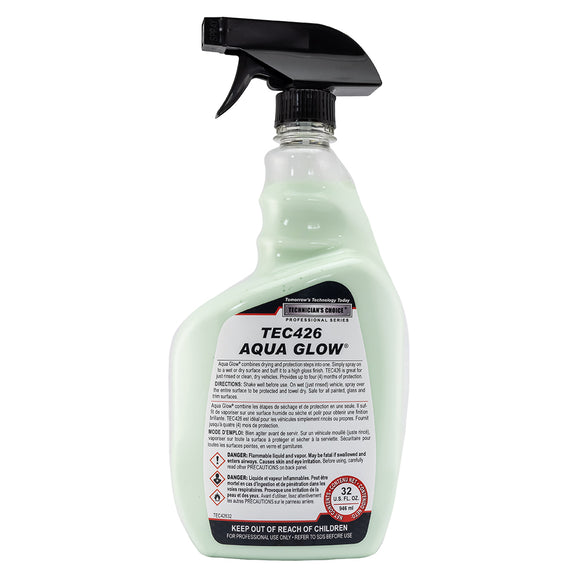
Technician's Choice - Aqua Glow
- 5k+ Reviews / 4.5 Stars
- Shines while you dry
- Tested and proven
- Repels water to aid in drying
Step 8: Dry Safely
- Use a microfiber drying towel or a blower to remove water without scratching.
- Avoid letting the car air dry to prevent water spots.
Pro Tips
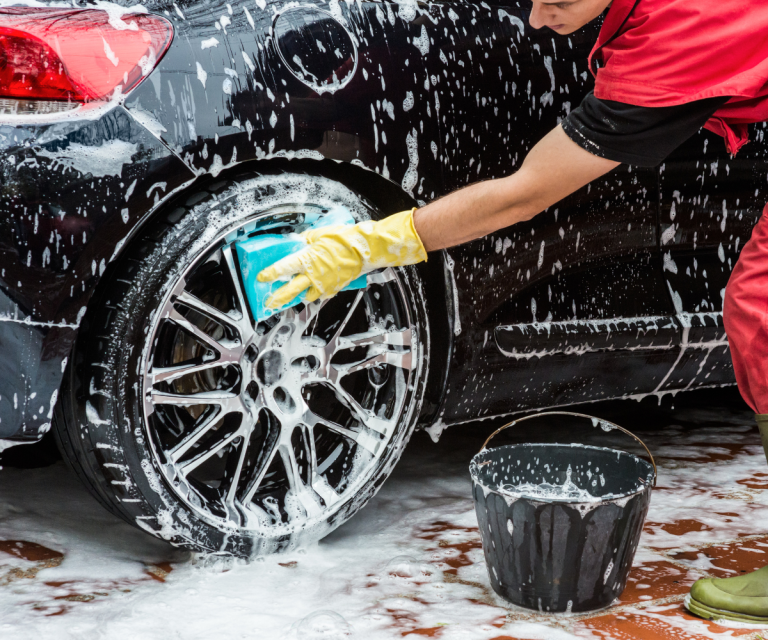
- Wheel Cleaning: Don't forget the wheels! Read up on how to clean wheels here.
Final Word on the 2 Bucket Method
The 2-bucket car wash method is one of the easiest ways to level up your car washing game. It’s simple, inexpensive, and greatly reduces the risk of swirls and scratches. Once you try it, you’ll never go back to a single bucket wash.

2 Comments
Comments are closed.