Paint Correction Before Coating: Why Prep Decides the Final Result

There’s a rule every serious detailer learns the hard way: a ceramic coating doesn’t hide what’s underneath your clear coat — it magnifies it. Apply a coating over swirl-marked, scratched, or oxidized paint, and you’ve just locked those defects in permanently under a layer that’s harder than the clear coat itself. The coating becomes a glass lens that sharpens every flaw you meant to cover up.
Proper paint correction removes 85–95% of surface defects before they can be sealed in place. That single step is what separates a coating job that lasts years and looks perfect from one that embarrasses you every time the sun hits the hood.
Key Takeaways
- A ceramic coating amplifies paint defects rather than hiding them — skipping correction traps swirls and scratches permanently.
- Two-stage paint correction (compound + polish) removes 85–95% of surface defects before coating.
- Even brand-new cars leave the factory with dealer-induced swirl marks that need correction first.
- DIY detailers need a DA polisher, cutting compound, finishing polish, and a clay bar kit at minimum.
Why Does Skipping Paint Correction Ruin a Ceramic Coating?
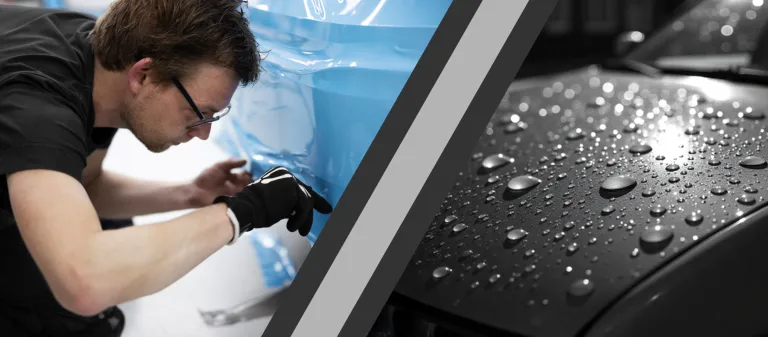
Ceramic coatings chemically bond to your clear coat and cure into a rigid, semi-permanent layer — typically 9H hardness or higher on the pencil scale. Once cured, they can’t be polished off without removing the coating itself. That means any swirl marks, buffer trails, light scratches, or water etching present on your paint at the time of application are now frozen in place.
What makes this worse is optical physics. The coating’s glass-like surface acts as a magnifier under direct sunlight or artificial lighting. Defects that were borderline-invisible before coating become crisp and obvious once the high-gloss clear layer goes on top. Correcting the paint afterward means stripping the coating you just paid for, polishing back to bare clear coat, then reapplying — a process that typically costs 2–3x what doing it correctly the first time would have.
Our take: The most common mistake DIY detailers make is confusing “clean” with “corrected.” A freshly washed car can still have hundreds of micro-scratches across every panel. Paint correction is the process of actually removing those scratches — not just washing them.
If you are still working out the difference between washing, claying, and polishing, our guide to paint correction vs. polishing breaks down what each step actually does and when you need it.
What Does Paint Correction Actually Involve?
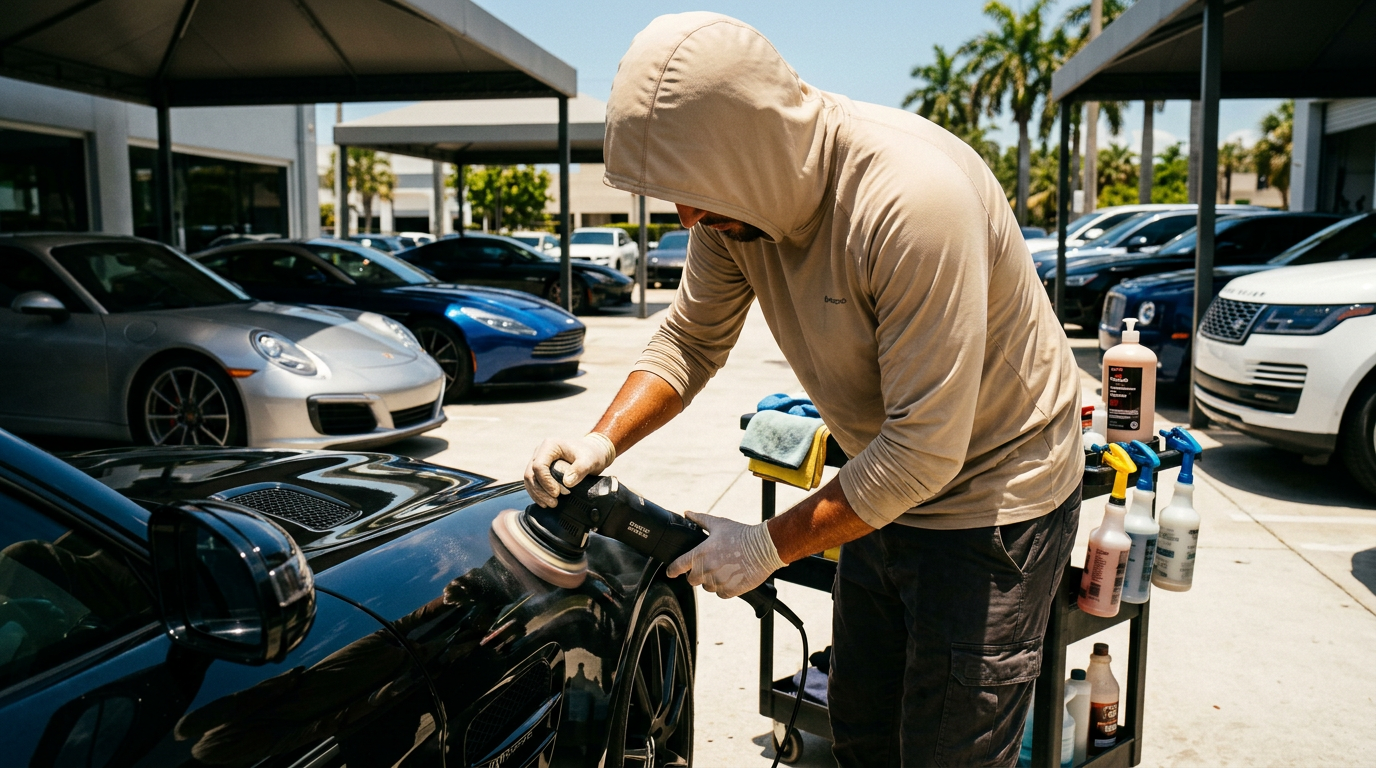
Paint correction is a multi-stage abrasive process that uses machine polishing to level the clear coat, removing the peaks and valleys left by fine scratches and swirl marks. Here’s what the process looks like for a DIY detailer working at home.
Stage 1: Wash and Decontaminate
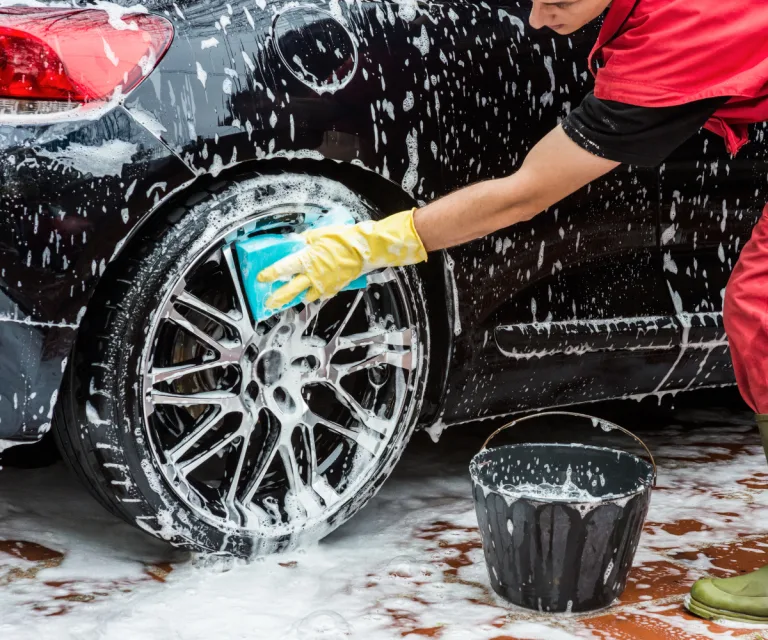
Correction starts with a thorough two-bucket wash, followed by clay bar treatment to pull embedded iron particles, tar, and industrial fallout from the surface. Polishing over contamination embeds particles deeper into your clear coat — clay bar first, always.
Stage 2: Inspect Under Lighting
A proper detailing light (or even a bright work light angled low across the panel) reveals the true condition of the paint. This step tells you how aggressive your correction needs to be. Light swirls visible only in direct light need a one-stage polish. Deep scratches, heavy oxidation, or water etching call for a two-stage approach starting with compound.
Stage 3: Compound (Heavy Correction)
Cutting compound is an abrasive liquid that removes clear coat at a controlled rate. Paired with a cutting pad on a DA polisher, it levels out deep scratches and oxidation. Single-stage correction at this step alone removes roughly 50–70% of visible defects.
Stage 4: Finishing Polish
After compounding, the paint has micro-haze left by the abrasive. A finishing polish removes that haze and refines the surface to a high-gloss finish. Two-stage correction — compound followed by polish — reaches 85–95% defect removal and leaves paint ready for coating.
Stage 5: Panel Wipe (IPA Wipe-Down)
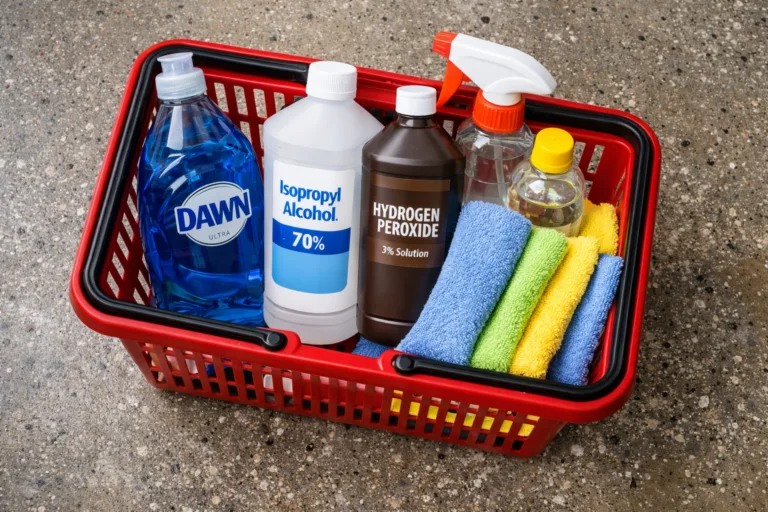
Before applying any coating, wipe every panel with an isopropyl alcohol solution (typically 70% IPA diluted to around 15–20%). This removes polish oils and residue that would otherwise prevent the coating from bonding properly. It’s the final handshake between your corrected paint and the coating.
What Products Do You Need as a DIY Detailer?
You don’t need a professional-grade setup to do solid paint correction at home, but you do need the right tools. Cutting corners on equipment is where most DIY attempts go wrong.
Dual-Action (DA) Polisher A DA polisher is the safe choice for beginners — it oscillates and rotates simultaneously, making it difficult to burn through the clear coat. The Rupes LHR15 Mark III is the gold standard, but entry-level options like the Chemical Guys TORQX or the FLEX XFE 7-15 150 are capable machines at a lower price point. Avoid using a rotary polisher until you have significant experience.
Cutting Compound
- Meguiar’s M105 Ultra-Cut Compound — aggressive, widely available, works well on most domestic and import clear coats
- Chemical Guys V34 Optical Grade Compound — slightly less aggressive, good for moderately defected paint
- 3D ONE — a hybrid compound-polish that works as an all-in-one for light correction jobs
Finishing Polish
- Meguiar’s M205 Ultra Finishing Polish — pairs perfectly with M105 as a two-stage system
- Chemical Guys P4 Precision Paint Perfection Polish — excellent clarity, works with most foam and microfiber finishing pads
- Griot’s Garage BOSS Fast Correcting Cream — user-friendly, forgiving working time
Foam and Microfiber Pads Match your pad to your product. Yellow or orange cutting pads go with compound. White or black finishing pads go with polish. Lake Country and Meguiar’s both make reliable pad lines sized for standard 5- and 6-inch backing plates.
Clay Bar Kit Meguiar’s Smooth Surface Clay Kit covers most decontamination needs. Includes the clay bar and a spray lubricant — don’t clay bar without lubricant.
IPA Panel Wipe Mix 70% isopropyl alcohol with distilled water at a 1:4 ratio, or buy a pre-made panel wipe spray from Adam’s Polishes or Koch-Chemie.
Lighting A dedicated detailing light makes an enormous difference. The Scangrip Nova SPS or a basic LED work light on a stand gives you the low-angle lighting needed to see swirls as you work.
Worth noting: Paint thickness matters here. Each polishing pass removes a small amount of clear coat. If you’re working on an older vehicle or one with previous bodywork, a paint depth gauge (like the PosiTest DFT) can confirm you have enough clear left to correct safely before you start.
How Do You Know the Paint Is Ready for Coating?
After the IPA wipe-down, inspect every panel under your detailing light from multiple angles. The paint should show no swirls, hazing, or buffer trails. Run a clean, dry microfiber across each panel — it should glide without catching. If you see any remaining defects under direct light, run another finishing polish pass on that section before moving forward.
According to detailing professionals, 70–80% of coating failures that appear in the first few months trace back to contamination or defects present at application time — not the coating product itself. The prep is the product.
Multi-stage correction using compound followed by finishing polish is the industry standard before any professional-grade coating application, precisely because it delivers the 85–95% defect removal rate that makes coatings perform as advertised.
Frequently Asked Questions
Can a ceramic coating cover up light scratches?
No. Ceramic coatings chemically bond to the existing clear coat surface, which means every imperfection present at application time is sealed permanently. Light scratches and swirl marks remain fully visible — often more so — after coating due to the magnifying effect of the high-gloss layer.
Do I need paint correction on a brand-new car before coating?
Yes, in most cases. New vehicles routinely pick up swirl marks and light scratches during transport, dealer prep, and pre-delivery washes. A one-stage polish before coating a new car is standard practice, even if heavy compounding isn’t required.
What’s the difference between a one-stage and two-stage correction?
A one-stage correction uses a single polishing step (usually a light compound or all-in-one product) and removes approximately 50–70% of defects. Two-stage correction — compound followed by finishing polish — reaches 85–95% removal and is recommended before any ceramic coating application.
How long does DIY paint correction take?
Expect 6–12 hours for a full two-stage correction on an average-size sedan, depending on the condition of the paint and your experience level. Working one panel at a time in a shaded, temperature-controlled environment produces the most consistent results.
Related Posts on Gloss Logic
- How to Tell If Your Car Needs Paint Correction, Polishing, or Both
- Best Microfiber GSM for Car Detailing
- 2-Bucket Car Wash Method
Conclusion
Paint correction isn’t optional prep work before ceramic coating — it’s the foundation the entire result is built on. A coating applied over defected paint doesn’t protect it; it just makes the damage permanent and harder to fix. Get the surface right first: decontaminate with clay, compound out the damage, refine with a finishing polish, wipe clean with IPA, and then coat. That sequence is what makes a ceramic coating actually worth the investment.