Interior Car Detailing: The Complete Guide

Your car’s interior takes more abuse than the paint ever will: coffee spills, kid crumbs, pet hair, dust baked into the dash by the sun. And a real interior detail is not wiping the dash with a paper towel. It’s a workflow, done in a specific order. Clean things in the wrong sequence and you’ll re-dirty everything you just finished. This interior car detailing guide walks through the full process the way a shop does it, step by step, so you only do the work once.
Interior Car Detailing Guide: Tools Checklist
You don’t need a professional setup, but the right tools make the job dramatically easier. Here’s the checklist:
- Shop vacuum with a crevice tool and upholstery nozzle [affiliate link]
- Stiff carpet brush and a soft-bristle interior brush [affiliate link]
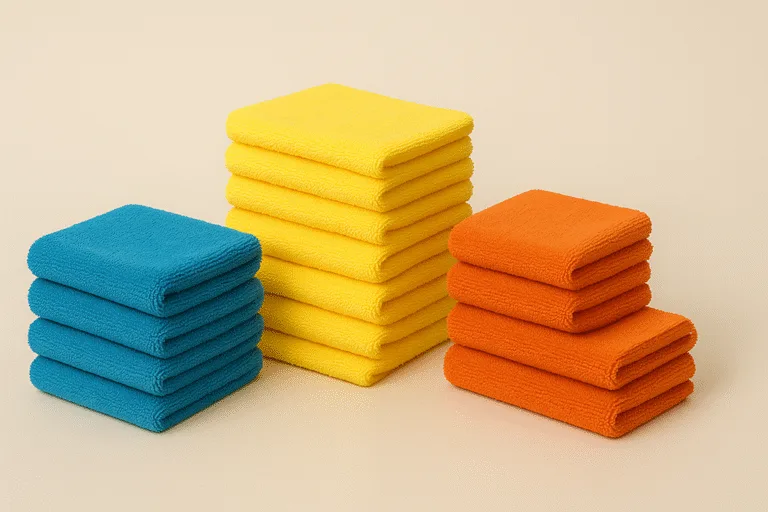
- Microfiber towels: a plush stack for dash and trim, low-pile for glass — kept separate [affiliate link]
- Interior cleaner or an all-purpose cleaner diluted for interior use [affiliate link]
- Carpet and upholstery cleaner (or a compact extractor if you have one) [affiliate link]
- Leather cleaner and conditioner, if your car has leather seats [affiliate link]
- Interior detailer spray with UV protection [affiliate link]
- Detailing brushes and swabs for vents and crevices [affiliate link]
- Glass cleaner and waffle-weave glass towels [affiliate link]
- Enzyme-based odor eliminator, for when you need it [affiliate link]
- Trash bags and nitrile gloves
Step 1: Declutter, Then Vacuum Everything
Always start here. Every later step kicks up dust and debris, so vacuuming last means doing the job twice.
- Pull everything out: floor mats, trunk contents, and anything in the console, door pockets, and seatback pockets. Bag the trash.
- Shake the floor mats out away from the car.
- Vacuum top to bottom: a light pass along the headliner edges, then the seats — including under them and between the cushions — then carpets front to back, then the trunk.
- Run the crevice tool along seat rails, under the seats, and down between the seat and the center console. That’s where the archaeology happens.
Step 2: Carpets and Floor Mats
With the loose dirt gone, attack what’s ground in. Hit the carpets with the stiff brush first — dry agitation loosens embedded grit that the vacuum left behind, and you’ll be surprised how much more the vacuum picks up on a second pass.
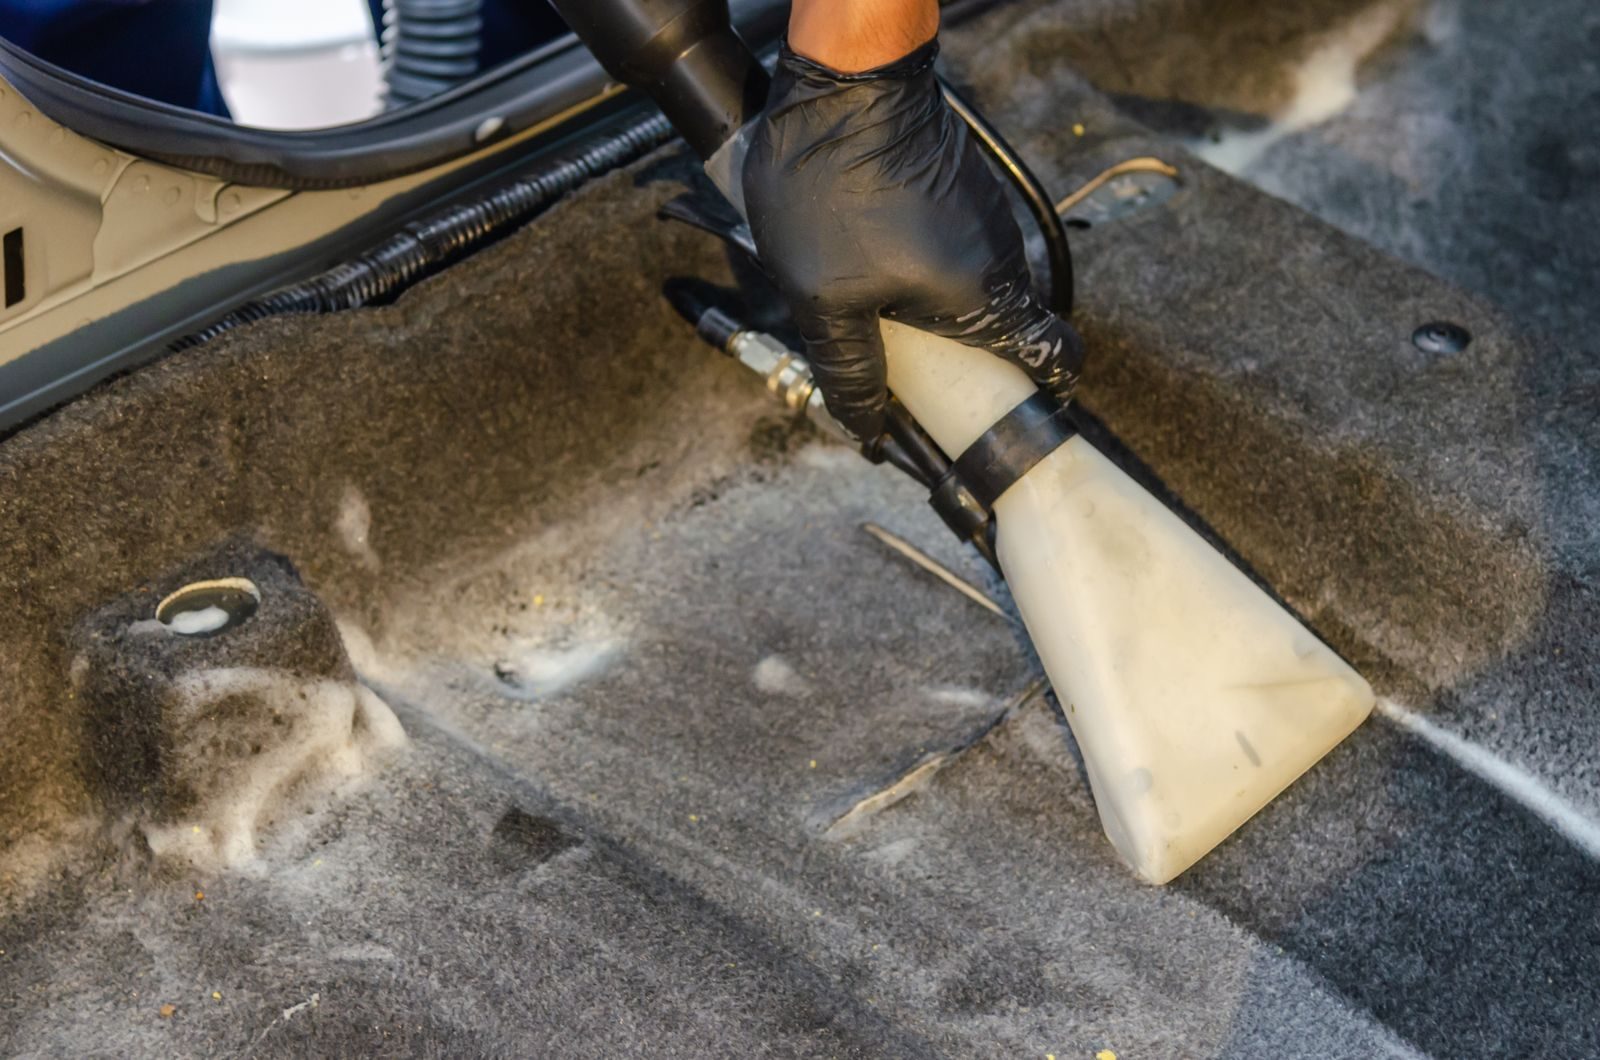
Spray carpet cleaner in sections, agitate with the brush, then extract or blot it back out. Work one section at a time so the cleaner doesn’t dry in the fibers. For rubber or all-weather mats, scrub them with cleaner and a brush, rinse, and set them aside to dry completely.
Don’t rush this. Putting damp mats back in a closed car is how mildew starts.
Step 3: Seats — Cloth vs. Leather
Seats need different treatment depending on the material, and this is where most DIY details go sideways.
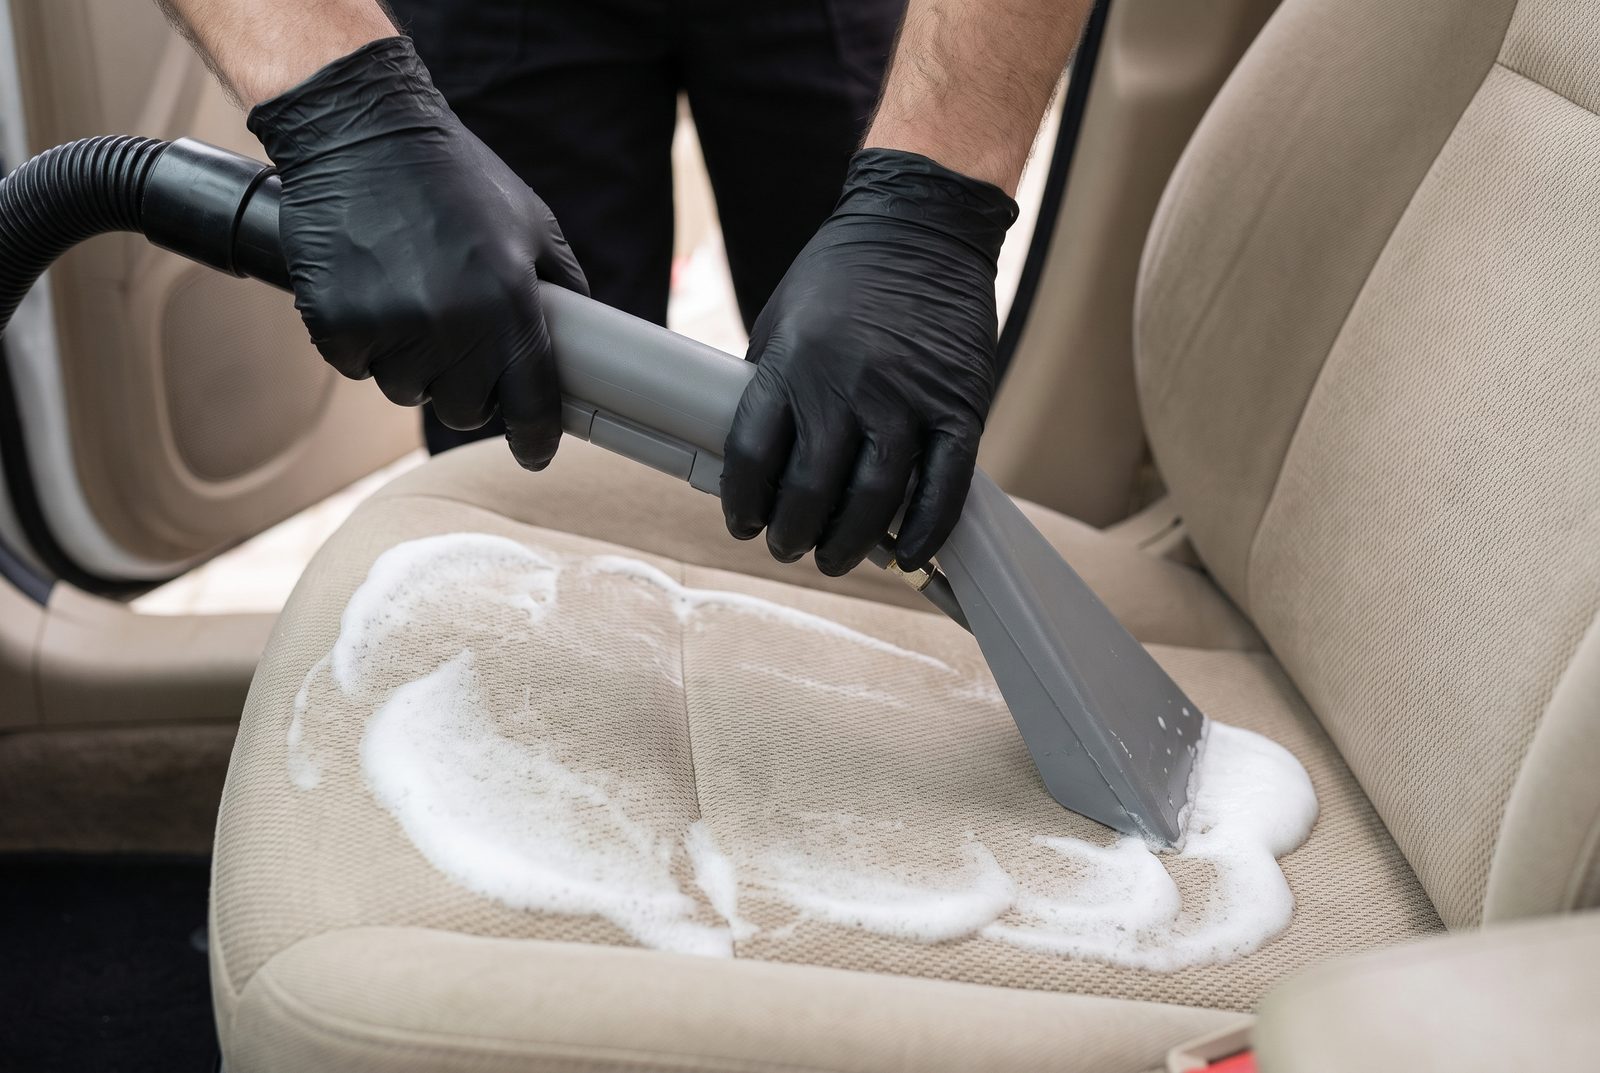
Cloth seats get a deep clean: thorough vacuum, brush agitation, pre-treatment on stains, then extraction or spray-and-blot, then proper drying. The single biggest rule is don’t soak them. A damp seat dries; a soaked seat mildews. I walk through the full cloth-seat process in How to Deep Clean Cloth Car Seats.
Leather seats are simpler but less forgiving. Most modern cars use coated leather, which wants a pH-neutral leather cleaner, gentle agitation with a soft brush, a wipe-down, and then conditioner. Never use all-purpose cleaner on leather — it strips the coating and dries the hide out. Full method in How to Clean Leather Car Seats Without Damaging Them.
Step 4: Dashboard, Trim, and Consoles
Dust first, always. Wipe a dusty dash with a damp towel and cleaner, and you’re just grinding the dust into the plastic. Use a dry soft brush or a dry microfiber to lift the dust off first.
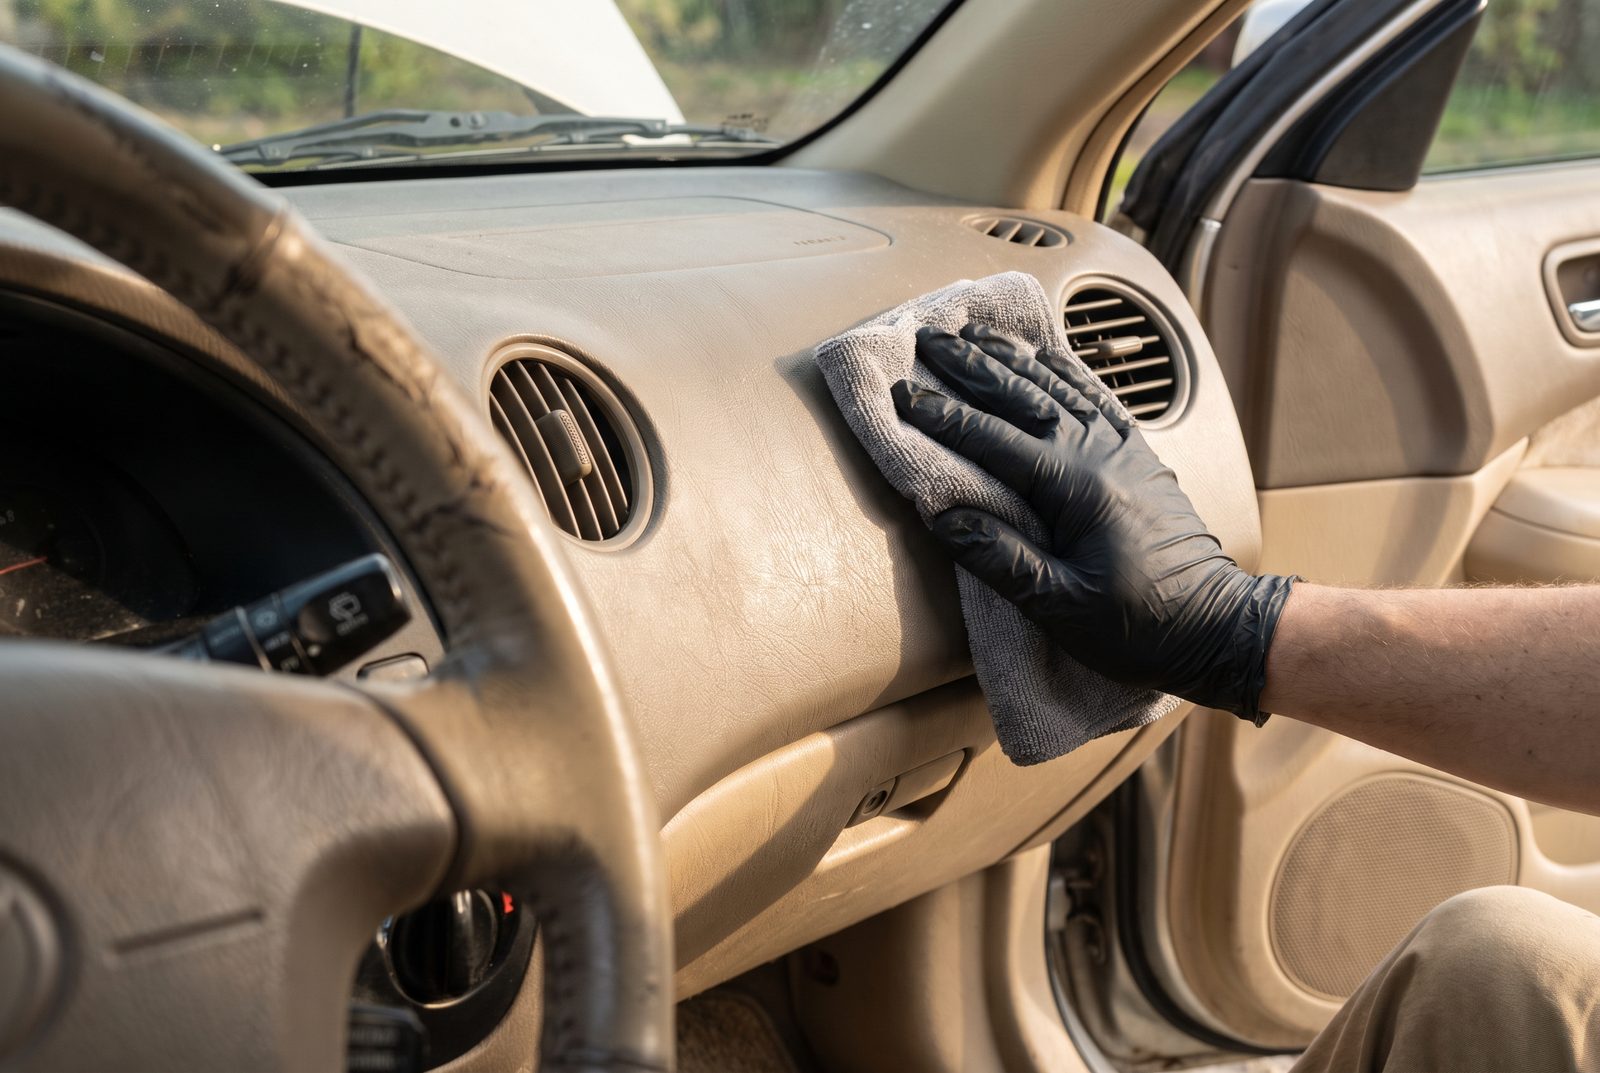
Then clean with interior detailer applied to the towel, not sprayed directly onto surfaces — especially around screens, buttons, and gauges. Overspray finds its way into electronics.
A note on glossy piano-black trim: it shows every fingerprint and every micro-scratch. Use a clean plush towel, light pressure, and straight lines. And go easy on shiny dressings for the dash. A glossy dash looks good in photos and terrible in sunlight — the glare is real, and silicone-heavy dressings are dust magnets. A matte UV protectant is the better call.
Step 5: Vents and Tight Crevices
This is the step that separates a decent interior detail from a great one. Dust collects in the vent slats, cup holders, door handle recesses, seat rails, and the seams where trim panels meet.
Use a soft detailing brush to sweep dust out of the vent slats while holding the vacuum nozzle nearby to catch it. Detailing swabs handle the slats themselves, cup holder bottoms, and tight seams. If you use compressed air, vacuum first — air alone just relocates the dust deeper into the dash.
Step 6: Inside Glass
Interior glass is harder than exterior glass because of the film that builds up from plastics off-gassing in a hot car. Regular glass cleaner and a paper towel won’t cut it.
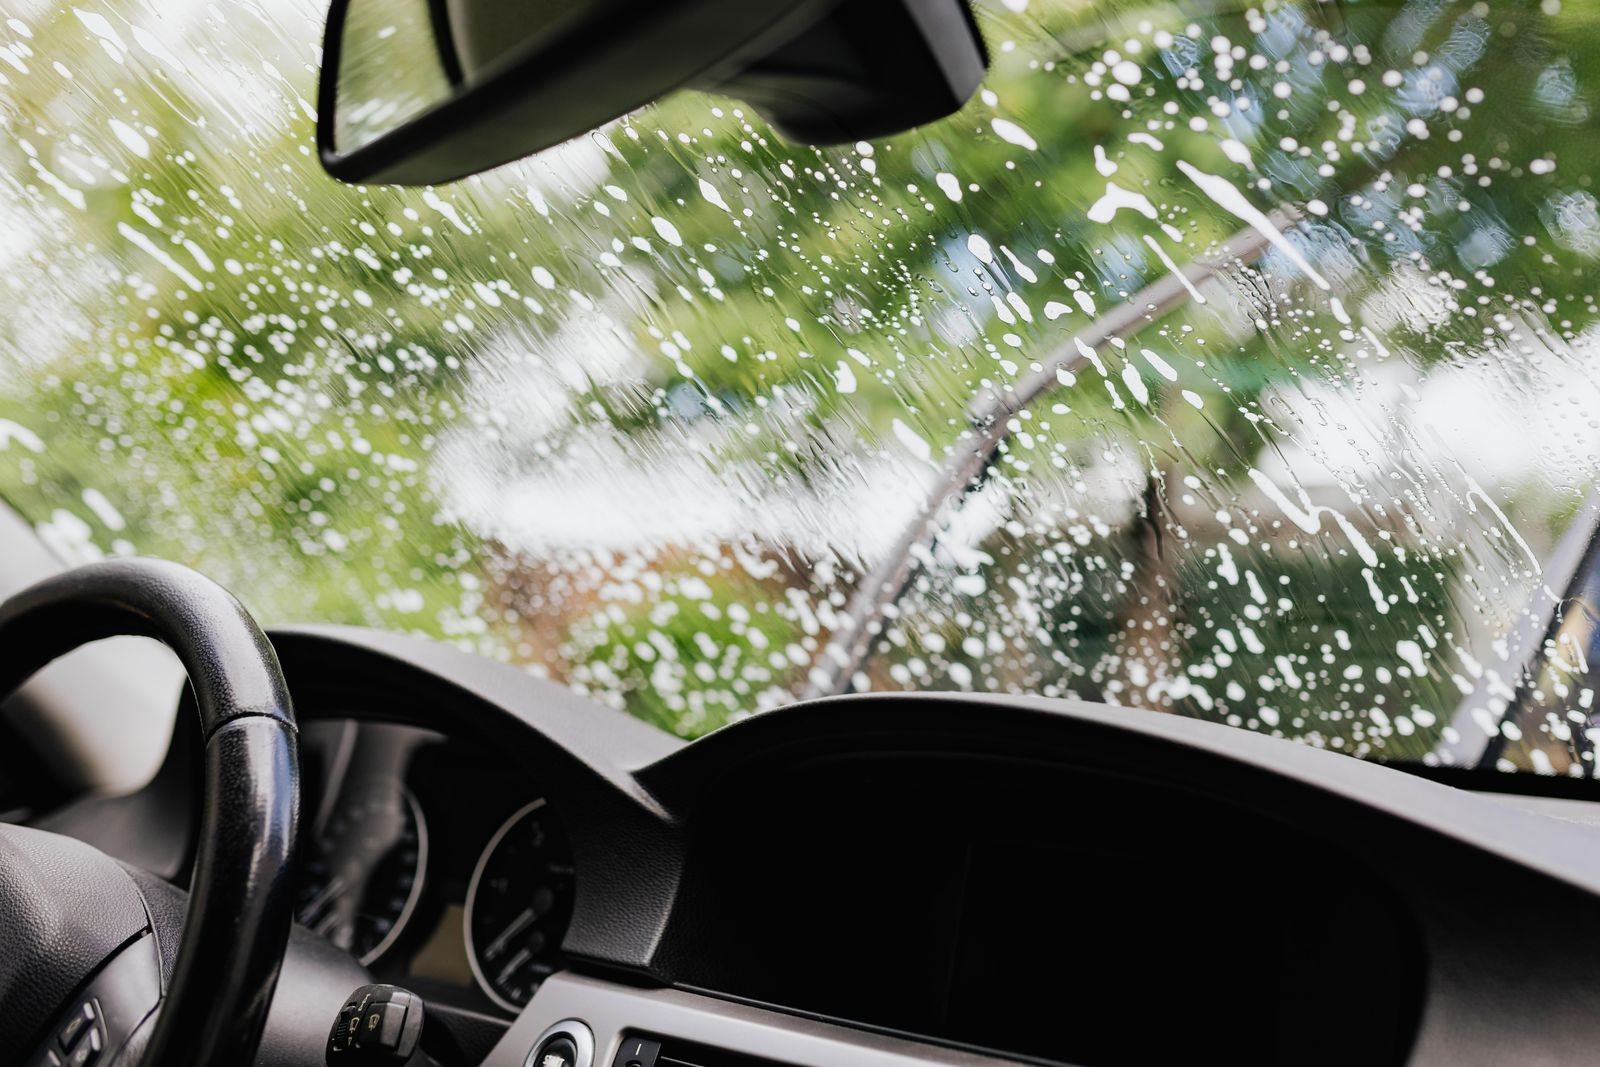
Use the two-towel method: one towel damp with glass cleaner to clean, followed immediately by a dry waffle-weave towel to buff. Work in the shade so the cleaner doesn’t flash-dry and streak. If your windows are tinted, use an ammonia-free cleaner only — ammonia degrades tint film over time.
Step 7: Odor Removal
If the car smells, find the source before you reach for an air freshener. Masking a smell without removing its cause just gives you two smells.
Deep-clean the source area first. For organic smells — milk, food, pet accidents — an enzyme cleaner actually breaks down the odor-causing material instead of covering it. Baking soda left on carpets overnight helps with general funk. And check the cabin air filter: a filter that’s never been changed can make the whole car smell stale every time the fan runs. I cover the full process, including smoke and mildew, in How to Get Smells Out of Your Car Interior.
Step 8: Protectants and Final Touches
With everything clean and dry, lock it in. Apply UV protectant to the dash and trim, condition the leather, and put the fully dry mats back in. Do a final walk-around: check the glass from the driver’s seat at an angle (streaks hide head-on), make sure no cleaner residue is sitting in crevices, and confirm everything you removed made it back in.
Common Mistakes
- Cleaning in the wrong order. Glass before dusting the dash means dust lands on clean glass. Seats before vacuuming means crumbs fall on clean seats. Follow the sequence.
- Soaking seats and carpets. More product and more water don’t clean better — they just take longer to dry and invite mildew.
- All-purpose cleaner on everything. It’s fine on hard plastics and door jambs. It does not belong on leather, screens, or piano-black trim.
- Skipping dry time. If the carpets are still damp, leave the windows cracked or run the car with the heat on for a while before closing it up.
- Dressing the steering wheel. A slick steering wheel is a safety problem. Clean it, don’t shine it.
FAQ
How long does a full interior detail take? For a DIYer doing it properly, plan on three to five hours depending on the size and condition of the car. Rushing any single step usually means redoing it.
How often should I detail the interior? A full detail twice a year with regular vacuuming and wipe-downs in between keeps most daily drivers in good shape. Pet owners and parents should lean toward quarterly.
Can I use household cleaners inside the car? Mostly no. Dish soap and household all-purpose sprays are too harsh for automotive materials and often leave residues that attract dust. Dedicated interior products exist for a reason.
Do I need an extractor? It’s the fastest way to deep-clean cloth seats and carpets, but it’s not required. Spray-and-blot with good agitation gets you most of the way there — it just takes longer.
As an Amazon Associate, GlossLogic earns from qualifying purchases.